
 Reviewed by
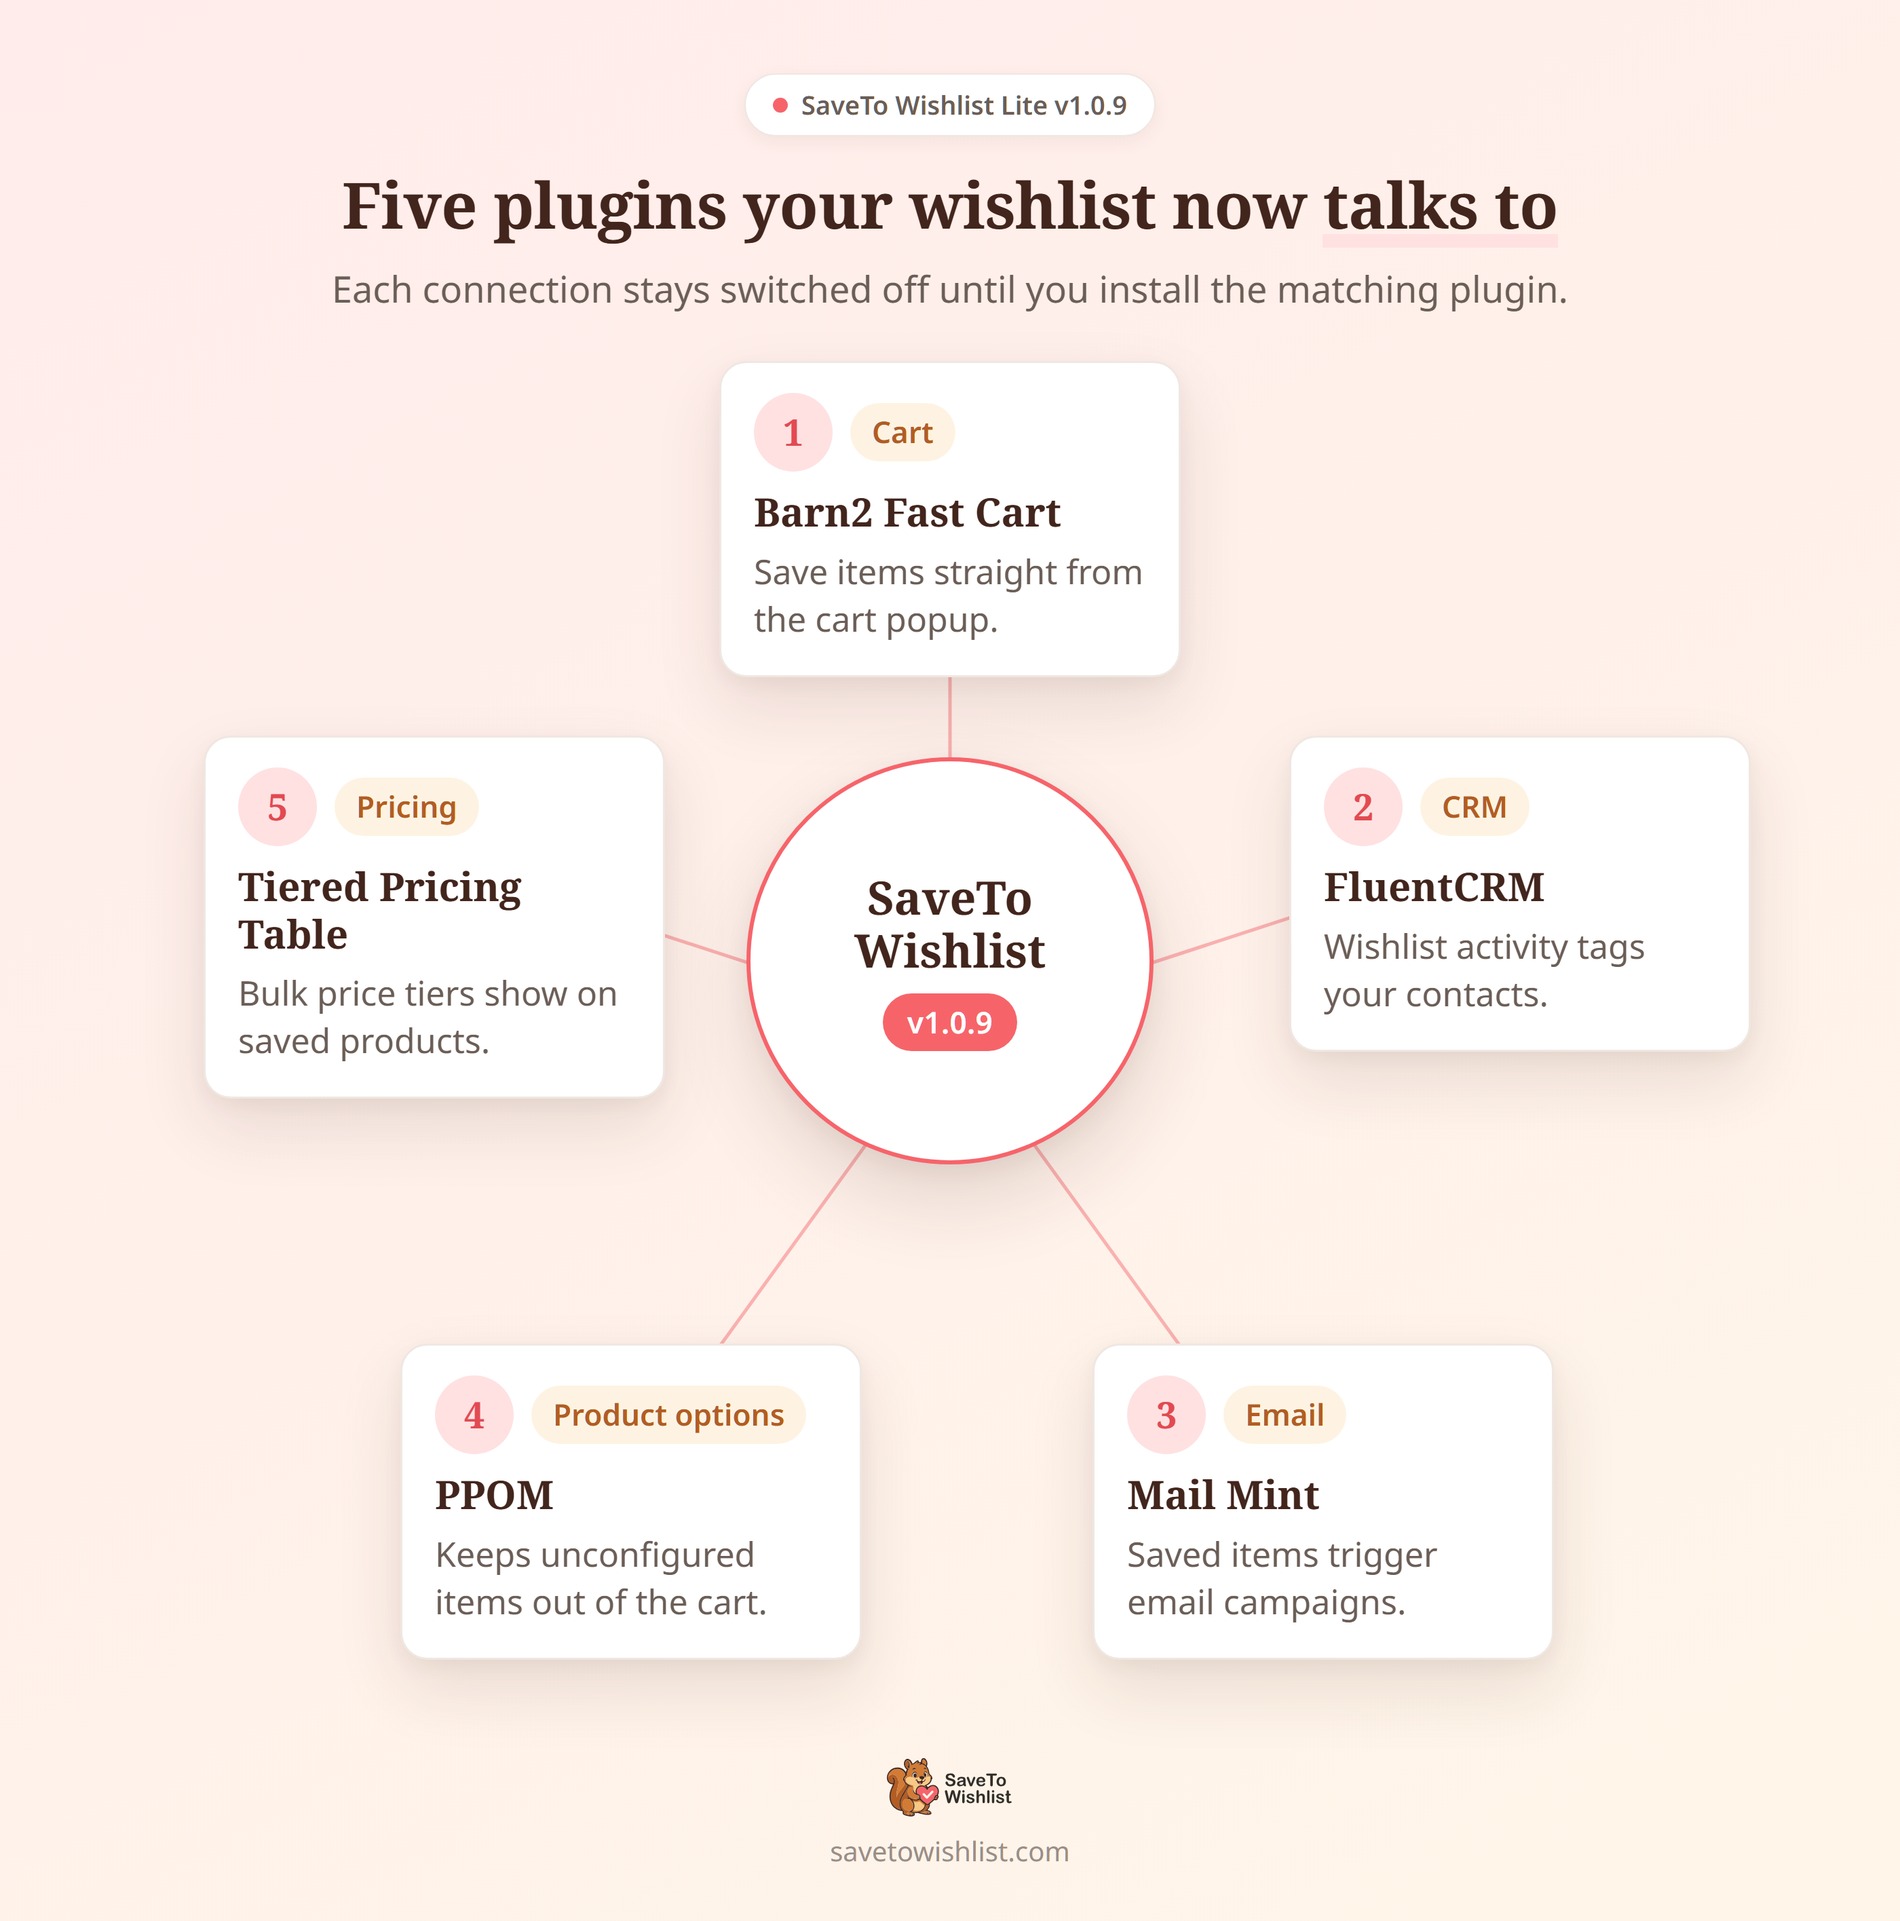
 With the release of the SaveTo Wishlist v1.0.9 integrations, the free version now connects directly with 5 popular WordPress plugins.
This update helps you trigger automated emails when customers save products, place save buttons right inside cart popups, and stop custom product details from getting lost at checkout.
These integrations only run if you have the matching plugin installed. If you don’t use them, they stay completely turned off. This means zero extra clutter and zero impact on your site’s speed!
Here’s a plain-English breakdown of exactly how each new connection works under the hood!
Jump to:
5 New SaveTo Wishlist Plugin Integrations
Each of the SaveTo Wishlist v1.0.9 integrations unlocks a specific workflow: from marketing automations to cart enhancements. Here is a breakdown of how each integration functions and how to set it up on your store.
1. Barn2 Fast Cart: Save Items Directly From The Cart Popup
Barn2’s WooCommerce Fast Cart Plugin replaces the default WooCommerce cart with a convenient slide-out popup. But what happens if a customer opens that popup and decides they aren’t quite ready to buy an item yet?
Instead of forcing them to abandon the cart or click back to the shop page, this integration places a “Save to Wishlist” button right inside the Fast Cart popup, next to every single line item. It turns a potential lost sale into a “save it for later.”
How it works
- Seamless Cart Integration: The new button automatically uses your store’s configured cart button style so it matches perfectly. When a customer clicks it, the product is saved in place and the cart stays open, so they never lose their spot and can carry on shopping.
- Smart Click Handling: Slide-out popups can sometimes accidentally block clicks on third-party buttons. SaveTo Wishlist automatically adjusts Fast Cart’s background scripts so your wishlist button clicks are never swallowed or ignored by the popup.
- Guest Rules Applied: The button respects your normal SaveTo Wishlist guest settings. It behaves exactly the same as the wishlist buttons everywhere else on your store.
Settings and configuration
There is absolutely no setup required. The integration is enabled by default as soon as both plugins are active on your site.
If you ever want to hide the button from the popup, you can easily turn it off:
- Go to SaveTo Wishlist → Settings → Button Placement & Styles tab.
- Open the Button Settings section.
- Toggle Show in WooCommerce Fast Cart to No.
Note: This specific setting is completely hidden from your dashboard unless the Fast Cart plugin is currently active on your site.
🚀 Pro tip on button styling: Want to change how the wishlist button looks inside the slide-out popup? Because the integration automatically uses your store’s configured cart button style, you don’t need to hunt for a special Fast Cart design setting! Any style changes you make to your standard cart page wishlist buttons will automatically apply to the popup version, too.
2. FluentCRM: Turn Wishlist Activity Into Email Automations
Adding an item to a wishlist is a clear sign of customer interest. This integration connects to FluentCRM (both the free and Pro versions) so you can automatically tag shoppers based on what they do. You can then use those tags to trigger automated email campaigns, like an abandoned-wishlist email to remind customers about their saved items.
How it works
- Automatic Tagging & Removal: You can map a specific tag to a wishlist add. When a logged-in customer adds a product, the plugin attaches that tag. If they remove the product, the plugin automatically detaches the tag so your automations stay accurate.
- Important Tagging Note: The “Added to wishlist” tag acts as a general “recent interest” signal, not a per-product flag. This means if a customer removes a product, the tag is detached from their profile even if they still have other products sitting on their wishlist.
- Wishlist Saves: You can pick a separate tag that gets applied whenever a customer saves an entire wishlist.
- Automatic Contact Creation: The plugin finds the customer’s FluentCRM contact using their account email address. If they don’t have a contact record yet, the integration automatically creates one before attaching the tag.
- 100% Local Processing: The entire connection runs safely on your own store. It doesn’t use API keys, external connectors, or send customer data to third-party services.
- Guests Skipped: Because tagging requires a contact record, this integration only applies to logged-in customers with an email address. Guest activity applies no tags.
Settings and configuration
Before you begin, you need to have at least one tag already created in FluentCRM (under Contacts → Tags). If you don’t create a tag there first, your dropdown menus in SaveTo Wishlist will be empty.
To set up the integration:
- Go to SaveTo Wishlist → Settings → Integrations tab → FluentCRM.
- Set Enable FluentCRM integration to Yes. (Note: The tag dropdown menus stay hidden until you turn this on).
- Select your desired tags from the Added to wishlist tag and Wishlist saved tag dropdowns.
- Save your settings.
Once connected, you can build an automation in FluentCRM using the native “Tag Applied” trigger to start your email sequences.
🚀 Missing a newly created tag? The tag list in your settings is cached for 5 minutes. If you just created a brand new tag in FluentCRM and don’t see it in the dropdown right away, simply wait a few minutes or reload the settings page later.
3. Mail Mint: Automate Email Marketing From Wishlist Activity
Mail Mint lets you build targeted email campaigns based on what your customers do. With this integration, when a logged-in shopper acts on a wishlist, that action is passed directly to Mail Mint so you can trigger automated emails.
How it works
- Automatic Tagging: SaveTo Wishlist applies specific tags to your Mail Mint contacts when wishlist actions occur: Wishlist – Product Added, Wishlist – Product Removed, and Wishlist – Saved. If these tags don’t exist in your system yet, the plugin creates them automatically the first time the event happens.
- Automatic Contact Creation: If a logged-in user acts on a wishlist but isn’t in Mail Mint yet, the plugin automatically creates a new contact profile for them. It pulls in their first name, last name, and account email, setting their status to “subscribed” by default.
- 100% Local Processing: This integration runs directly on your own website. It never makes outside HTTP calls or sends your customer data to third-party servers.
- Guest Handling: Guest activity is safely ignored. The integration only tracks logged-in customers who have an email address, keeping your marketing list clean.
Settings and configuration
There are no settings to configure and no switches to turn on. The integration works automatically as soon as both plugins are active.
To start building your email campaigns, follow these quick steps:
- Make sure both Mail Mint and SaveTo Wishlist are active.
- Log in to your store as a test customer and add a product to a wishlist. This generates the first event.
- In Mail Mint, go to Contacts → Tags to confirm the new wishlist tags have appeared.
- Create a new Mail Mint automation using the “Tag applied in a single contact” trigger, select your wishlist tag, and add your follow-up emails!
🚀 Pro tip for multilingual stores: The default Mail Mint tag names are translated strings. This means if you run a multilingual site, a different admin language can produce a differently named tag. If you need your tags to stay exactly the same across all languages so your automations don’t break, a developer can easily lock in fixed tag names using the stwlite_mailmint_event_tags filter.
4. PPOM: Protect Custom Product Options
Personalized Product Option Manager (PPOM) lets customers customize items with add-on options like a specific size, text engravings, or an uploaded file.
Because wishlists don’t currently capture and save those specific custom choices, a saved item could accidentally be moved to the cart with all of its custom details missing. This PPOM integration adds a smart safeguard to prevent incomplete orders. Instead of letting an unconfigured item slip into the cart, it makes sure the customer finishes customizing it first.
How it works
- Detects Custom Products: SaveTo Wishlist automatically checks to see if a product carries PPOM add-on fields. If it does, the plugin flags that specific item as “needs configuration.”
- Smart Routing: Because of that flag, the wishlist points the item’s add-to-cart action back to the product page instead of adding it straight to the cart. This smoothly guides the shopper to fill in their add-on fields so nothing important is skipped.
- Fresh Configurations: The wishlist does exactly what it’s supposed to do: it keeps the product saved so the customer can return to it anytime. They simply make their selections on the product page when they are finally ready to buy.
- Normal Products Unaffected: Only products that actually carry PPOM add-on fields are routed back to the product page. Every other standard product will still add to the cart directly from the wishlist as normal.
Settings and configuration
There are no settings to configure. The behavior is completely automatic. As long as the PPOM plugin is active on your site, the safeguard runs in the background.
🚀 Pro tip for site performance: If a customer saves the exact same custom product to their wishlist multiple times, you don’t have to worry about it slowing down your store! SaveTo Wishlist automatically caches the add-on check in the background, meaning it only has to look up that product’s custom fields once per page load.
5. Tiered Pricing Table: Display Bulk Discounts On Saved Items
If you offer bulk or quantity discounts, showing just a single regular price on a wishlist leaves out important details. This integration brings your Tiered Pricing Table rules directly to the wishlist page, allowing customers to clearly see their quantity discounts while they plan a purchase.
How it works
- Live Table Rendering: SaveTo Wishlist builds its own tiered pricing breakdown directly inside the wishlist view. As a customer changes the quantity of an item, the table automatically highlights the specific pricing tier that applies to them. They can easily see that buying more drops the price without ever having to click back to the product page.
- Strict Minimum Quantities: The integration actively respects your rules. If a product has a tier minimum quantity set above one, the wishlist will strictly honor it so your bulk rules are never bypassed.
- Variable Product Support: If a product has different variations, each variation safely carries its own tier prices. The wishlist will automatically price the selected variation by the tier that fits the customer’s chosen quantity.
Settings and configuration
There are absolutely no settings to configure in SaveTo Wishlist.
To get started, simply open a product in your standard WordPress editor, add your quantity tiers and minimums using the Tiered Pricing options, and save the product. The tiers will now appear on the wishlist automatically!
🔍️ Pro tip for site updates: What happens to your wishlists if you ever decide to turn off the Tiered Pricing Table plugin, or if a specific product doesn’t have any pricing rules set? Don’t worry! SaveTo Wishlist handles this gracefully. The tier list simply empties out and the minimum quantity safely falls back to 1, ensuring absolutely nothing on your storefront breaks.
Also In This Release: Core Updates
Alongside these SaveTo Wishlist v1.0.9 integrations, we also shipped key updates to the core plugin in this release. Here’s a quick summary of what else is new:
- A Native Wishlist Block: You no longer need to type shortcodes to display a wishlist. You can now drop a native Wishlist block right into the standard WordPress editor or the new Site Editor.
- Direct to Checkout: You can now send shoppers straight to the cart or checkout page immediately after they click “Add All to Cart” on their wishlist.
Read our full guide on the new Wishlist Block and Checkout features here.
Ready To Upgrade Your Wishlists?
The SaveTo Wishlist v1.0.9 integrations make the plugin much more than a basic list of saved products. They turn your wishlists into a smart tool that builds your email list, speeds up shopping, and protects your custom item details.
Best of all, this entire system runs completely on your own server. Your site stays fast, and your customer data stays totally private.
Missed any of the details? Jump right back to a specific integration to review how it works:
- Barn2 Fast Cart: Save Items Directly From The Cart Popup
- FluentCRM: Turn Wishlist Activity Into Email Automations
- Mail Mint: Automate Email Marketing From Wishlist Activity
- PPOM: Protect Custom Product Options
- Tiered Pricing Table: Display Bulk Discounts On Saved Items
Update to SaveTo Wishlist Lite today and start connecting your favorite plugins!