
Configuring how your wishlist behaves and looks starts with two settings tabs: General and Wishlist Page. This article walks through every setting on both tabs so you can configure SaveTo Wishlist to match your store’s needs.
Before you begin
- WooCommerce and SaveTo Wishlist Lite must both be active on your site.
- You need an administrator account to open Settings.
- Each section on this page has a Reset to Default button that restores its original values.
- A few settings on this page (Public Wishlists Title, Public Wishlists Description, and Text For Products Without A Price) only appear when SaveTo Wishlist Pro is active with a valid license. Text For Products Without A Price also needs SaveTo Wishlist Pro 1.0.4 or later.
How to access the settings
To open the SaveTo Wishlist settings, go to SaveTo Wishlist → Settings in your WordPress admin.
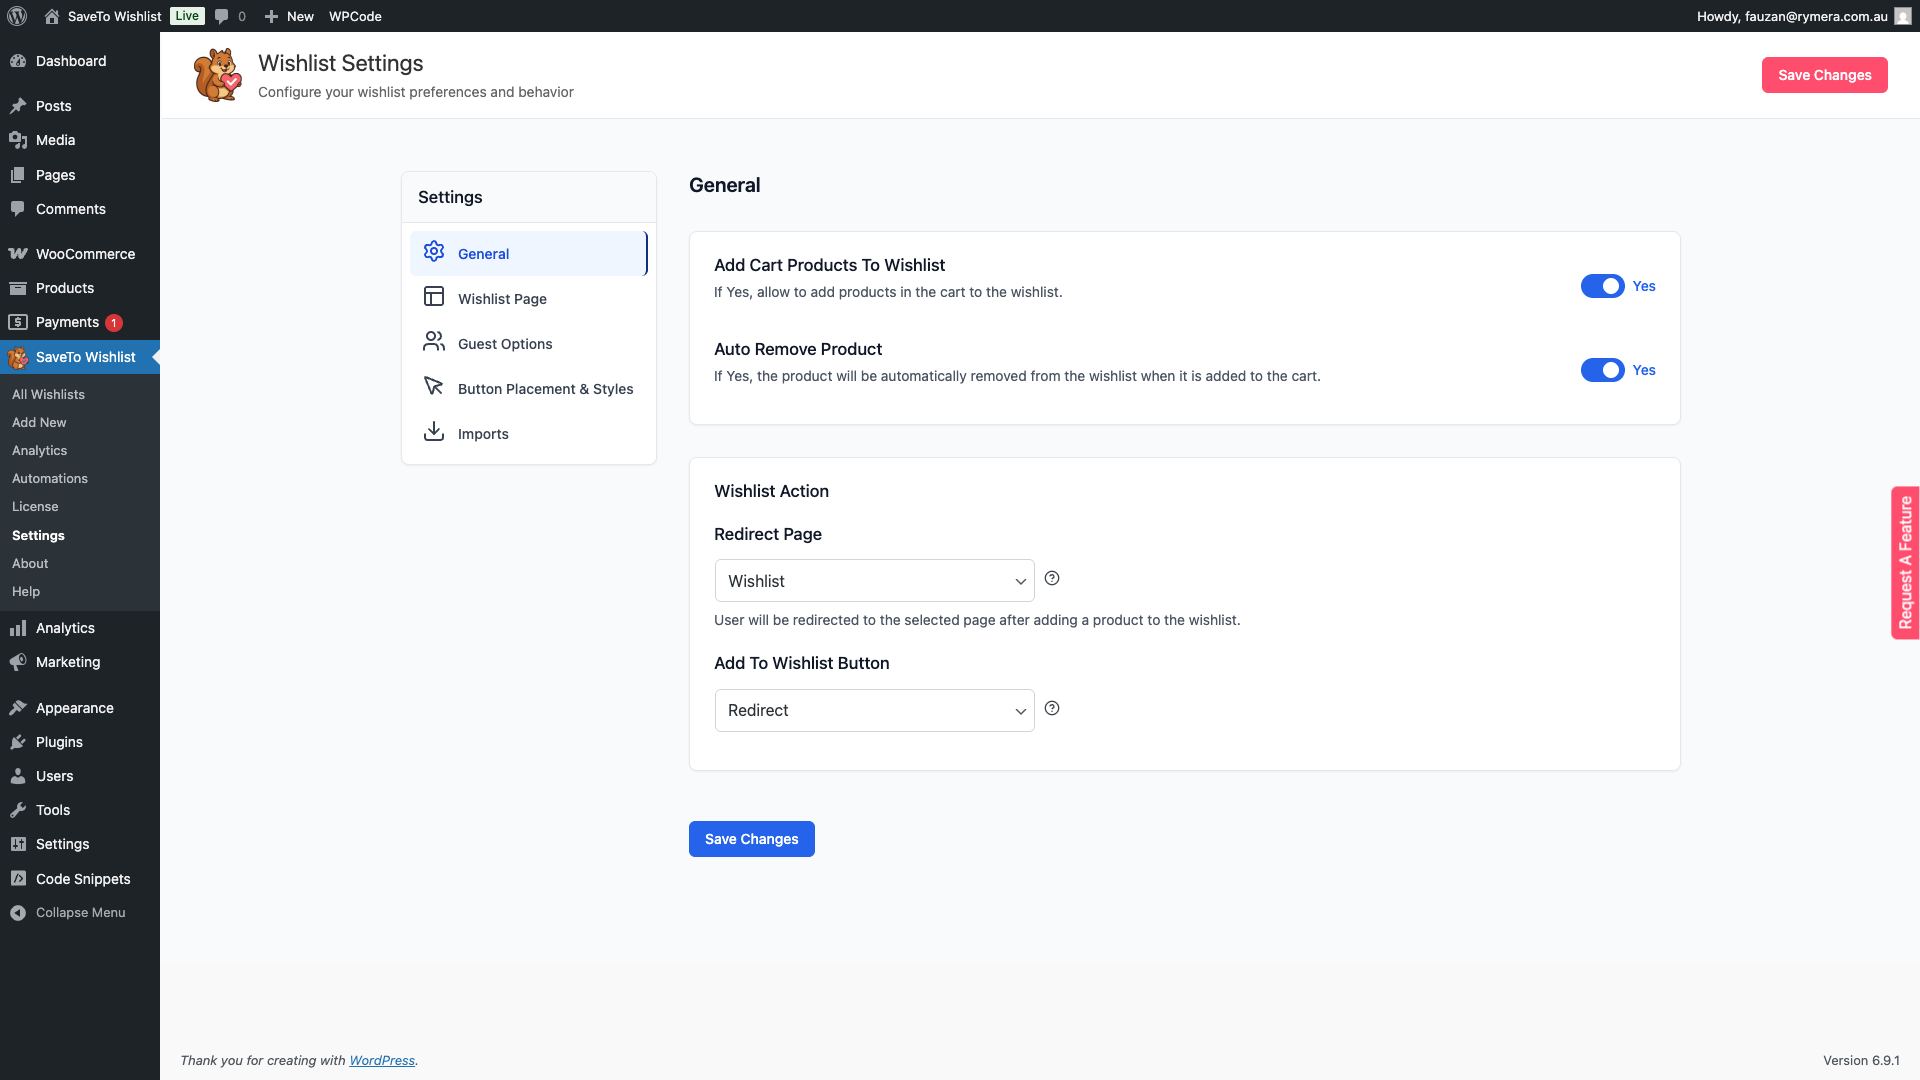
General tab
The General tab controls core wishlist behaviour: how products interact with the cart and what happens when a customer clicks the Add to Wishlist button.
Cart Settings
| Setting | Description | Default |
|---|---|---|
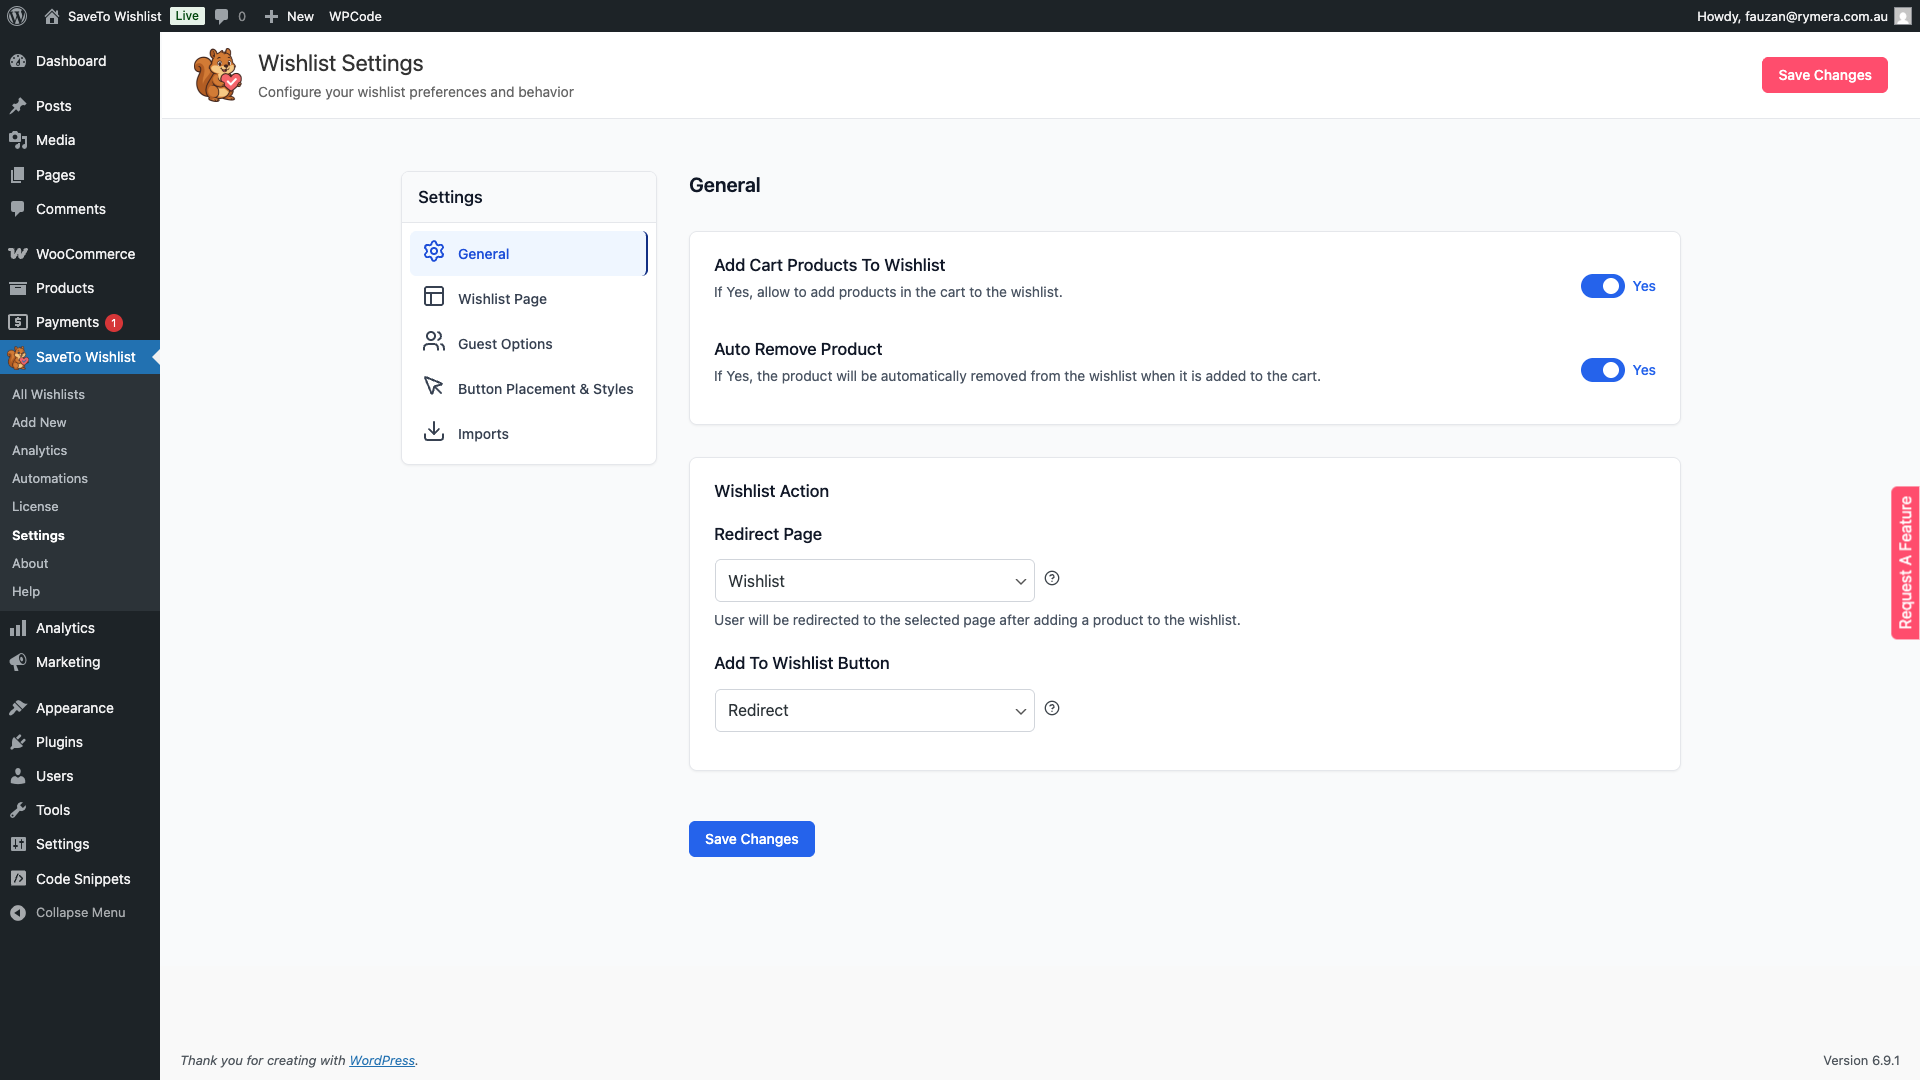
| Add cart products to wishlist | When enabled, customers can save products already in their cart to their wishlist. Disable this if you only want customers to save items from product pages. | Enabled |
| Cart item selection | When enabled, customers pick which cart products to save instead of saving the whole cart at once. This setting only appears when Add cart products to wishlist is enabled, so turn that on first if you cannot see it. | Disabled |
| Auto remove product | When enabled, a product is automatically removed from the wishlist as soon as the customer adds it to the cart. Useful for keeping wishlists tidy once a customer has acted on a saved item. | Enabled |
Wishlist Action
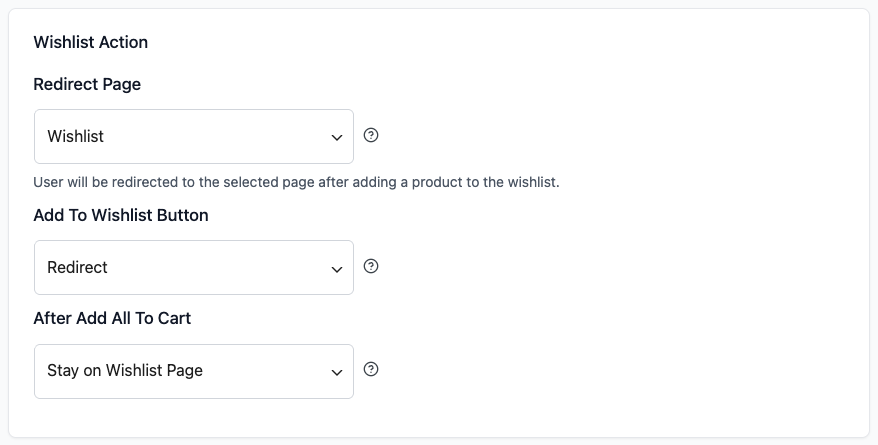
These settings control where customers land after saving a product and how the Add to Wishlist button responds when clicked.
| Setting | Description | Default |
|---|---|---|
| Redirect page | The page customers are sent to after adding a product to their wishlist when the button action is set to Redirect. Select any published page from the dropdown. If no page is selected, customers are redirected to the My Account page instead. | None (falls back to My Account) |
| Add to wishlist button | Controls what happens when a customer clicks Add to Wishlist. Redirect sends the customer to the Redirect page. Popup displays a confirmation dialog with a link to the wishlist. Fade briefly fades the button to signal success without navigating away. | Redirect |
| After Add All to Cart | Where customers go after they use Add All to Cart or Add Selected to Cart on the wishlist page. Choose Stay on Wishlist Page to leave them where they are, Redirect to Cart Page to send them to the cart, or Redirect to Checkout Page to send them straight to checkout. Pick one of the redirect options if you want wishlist shoppers to move to purchase in one step. | Stay on Wishlist Page |
Usage Tracking
This section is opt-in reporting. It is separate from your wishlist behaviour and does not change anything customers see.
| Setting | Description | Default |
|---|---|---|
| Allow usage tracking | Sends a weekly report about your setup, including your site URL and admin email, your PHP, WordPress, WooCommerce, theme and plugin versions, active plugins, your SaveTo Wishlist settings and licence details, and weekly wishlist totals. Customer records, order records and wishlist contents are never sent. The full list is shown next to the setting in your admin. | Enabled if SaveTo Wishlist Pro is active; disabled otherwise |
Webhook API
Systems that send wishlist events to this store must present this key. Leave it empty to refuse every caller.
| Setting | Description | Default |
|---|---|---|
| Wishlist Webhook API Key | The key any outside system must present, as the “x-api-key” header, to send wishlist events to your store. Leave it empty to refuse every caller. A Generate a new key button replaces the current key immediately. Any system still sending the old key is refused. | Empty |
Wishlist Page tab
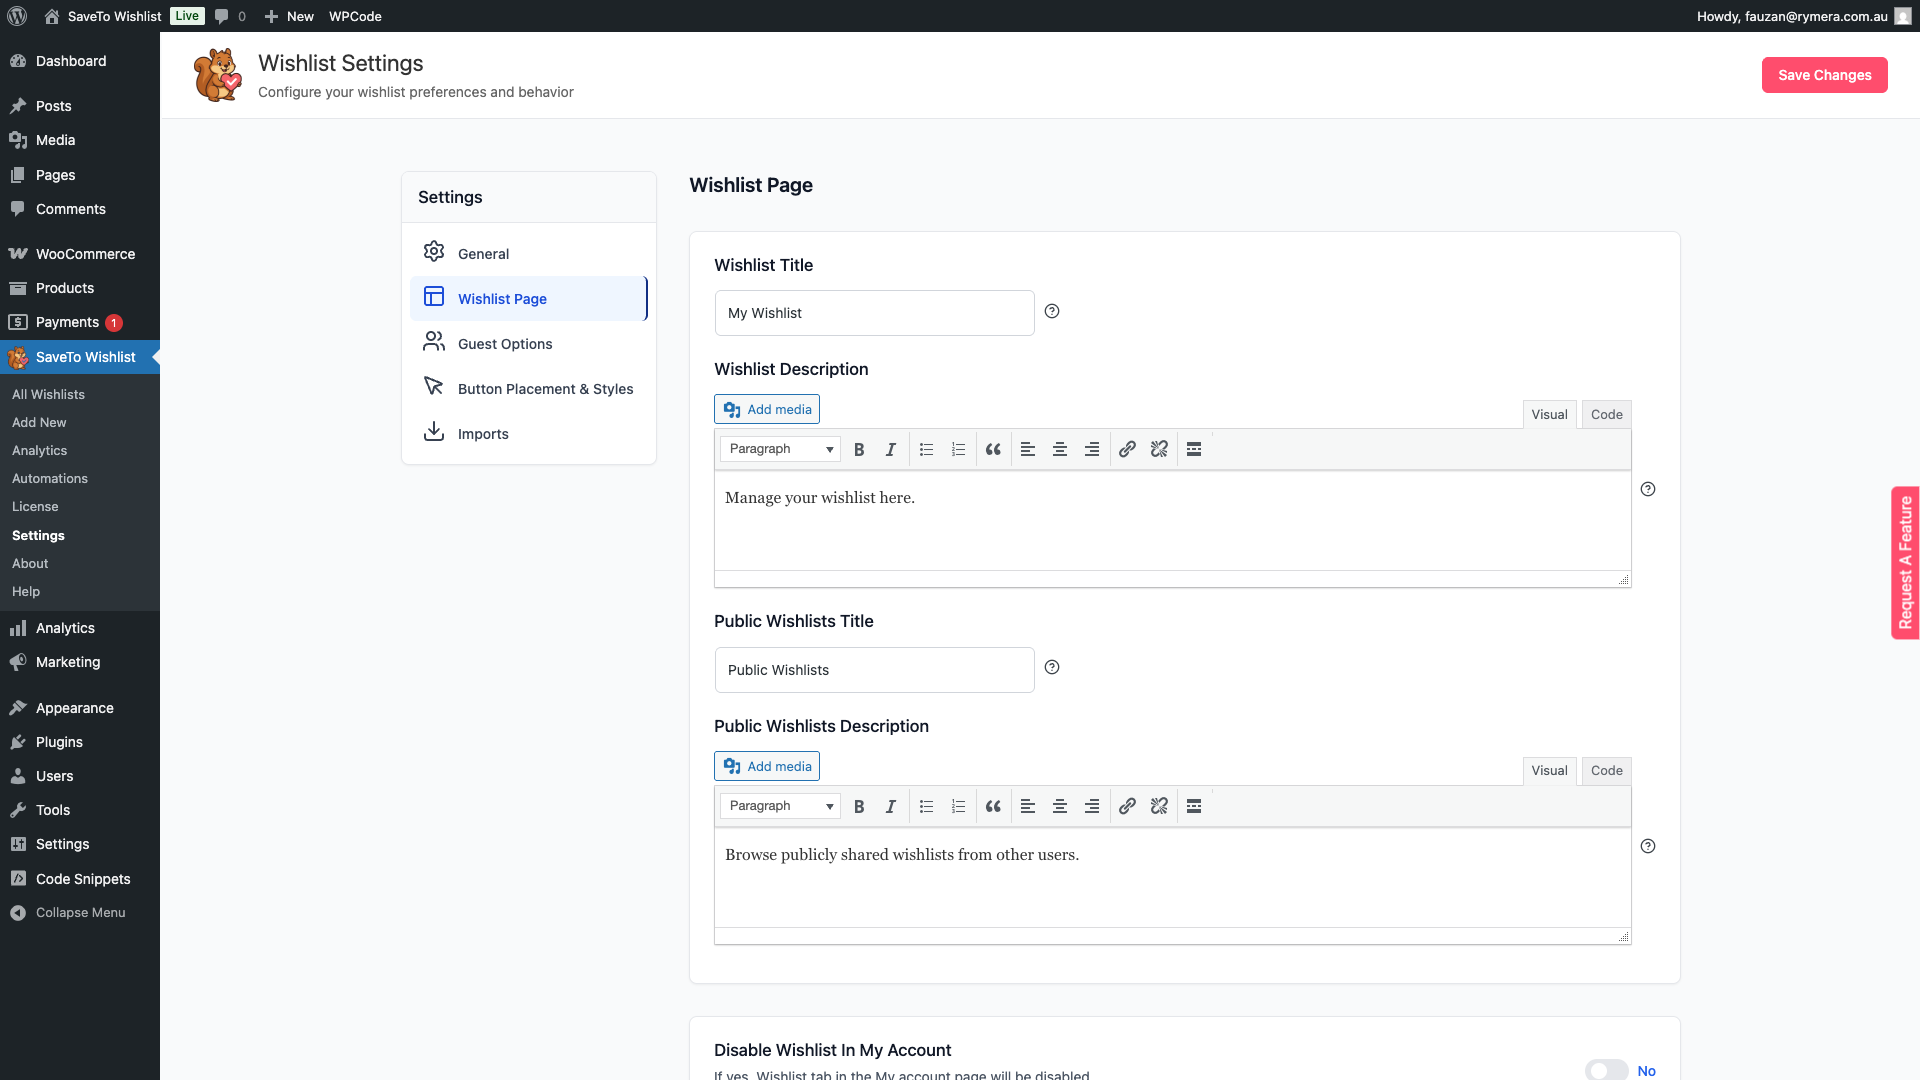
The Wishlist Page tab controls what customers see on the dedicated wishlist page: the title and description for both personal and public wishlists, My Account integration, whether customers can create multiple wishlists, and whether the public wishlists section is visible.
Page Content
| Setting | Description | Default |
|---|---|---|
| Wishlist Title | The heading displayed at the top of the customer-facing wishlist page. | My Wishlists |
| Wishlist Description | A short description shown below the title on the wishlist page. Supports basic text formatting via the built-in editor. | Manage your wishlists |
| First Wishlist Label | The name given to the wishlist that is created for a customer automatically. Change it if “First Wishlist” does not suit your store. | First Wishlist |
| Public Wishlists Title | The heading displayed above the section where customers can browse wishlists shared publicly by other users. | Public Wishlists |
| Public Wishlists Description | A short description shown below the Public Wishlists heading. | Browse publicly shared wishlists from other users. |
| Text For Products Without A Price | Custom text shown in the Price column when a wishlisted product has no price, for example “Contact us for pricing.” Leave empty to keep the default dash. Basic HTML is allowed and is sanitized when saved. Requires SaveTo Wishlist Pro 1.0.4 or later with an active license. | Empty (shows a dash) |
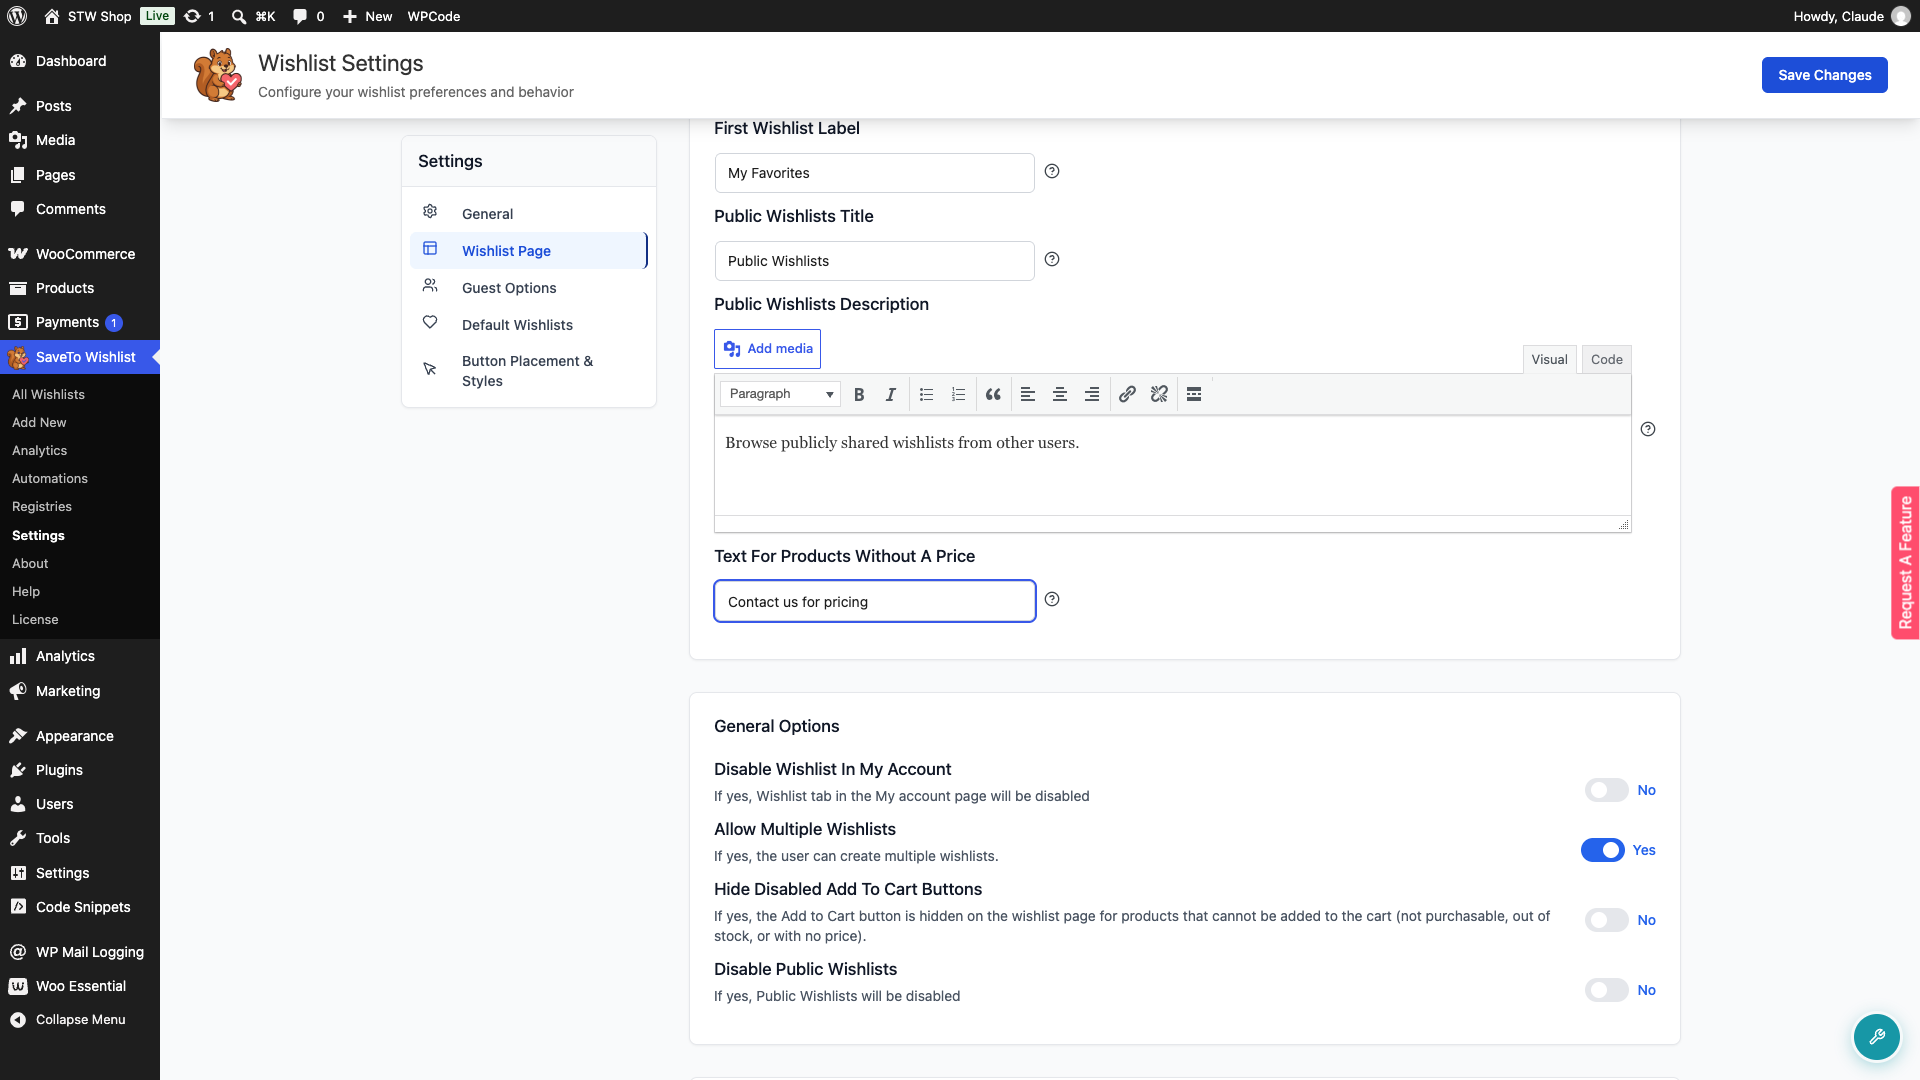
General Options
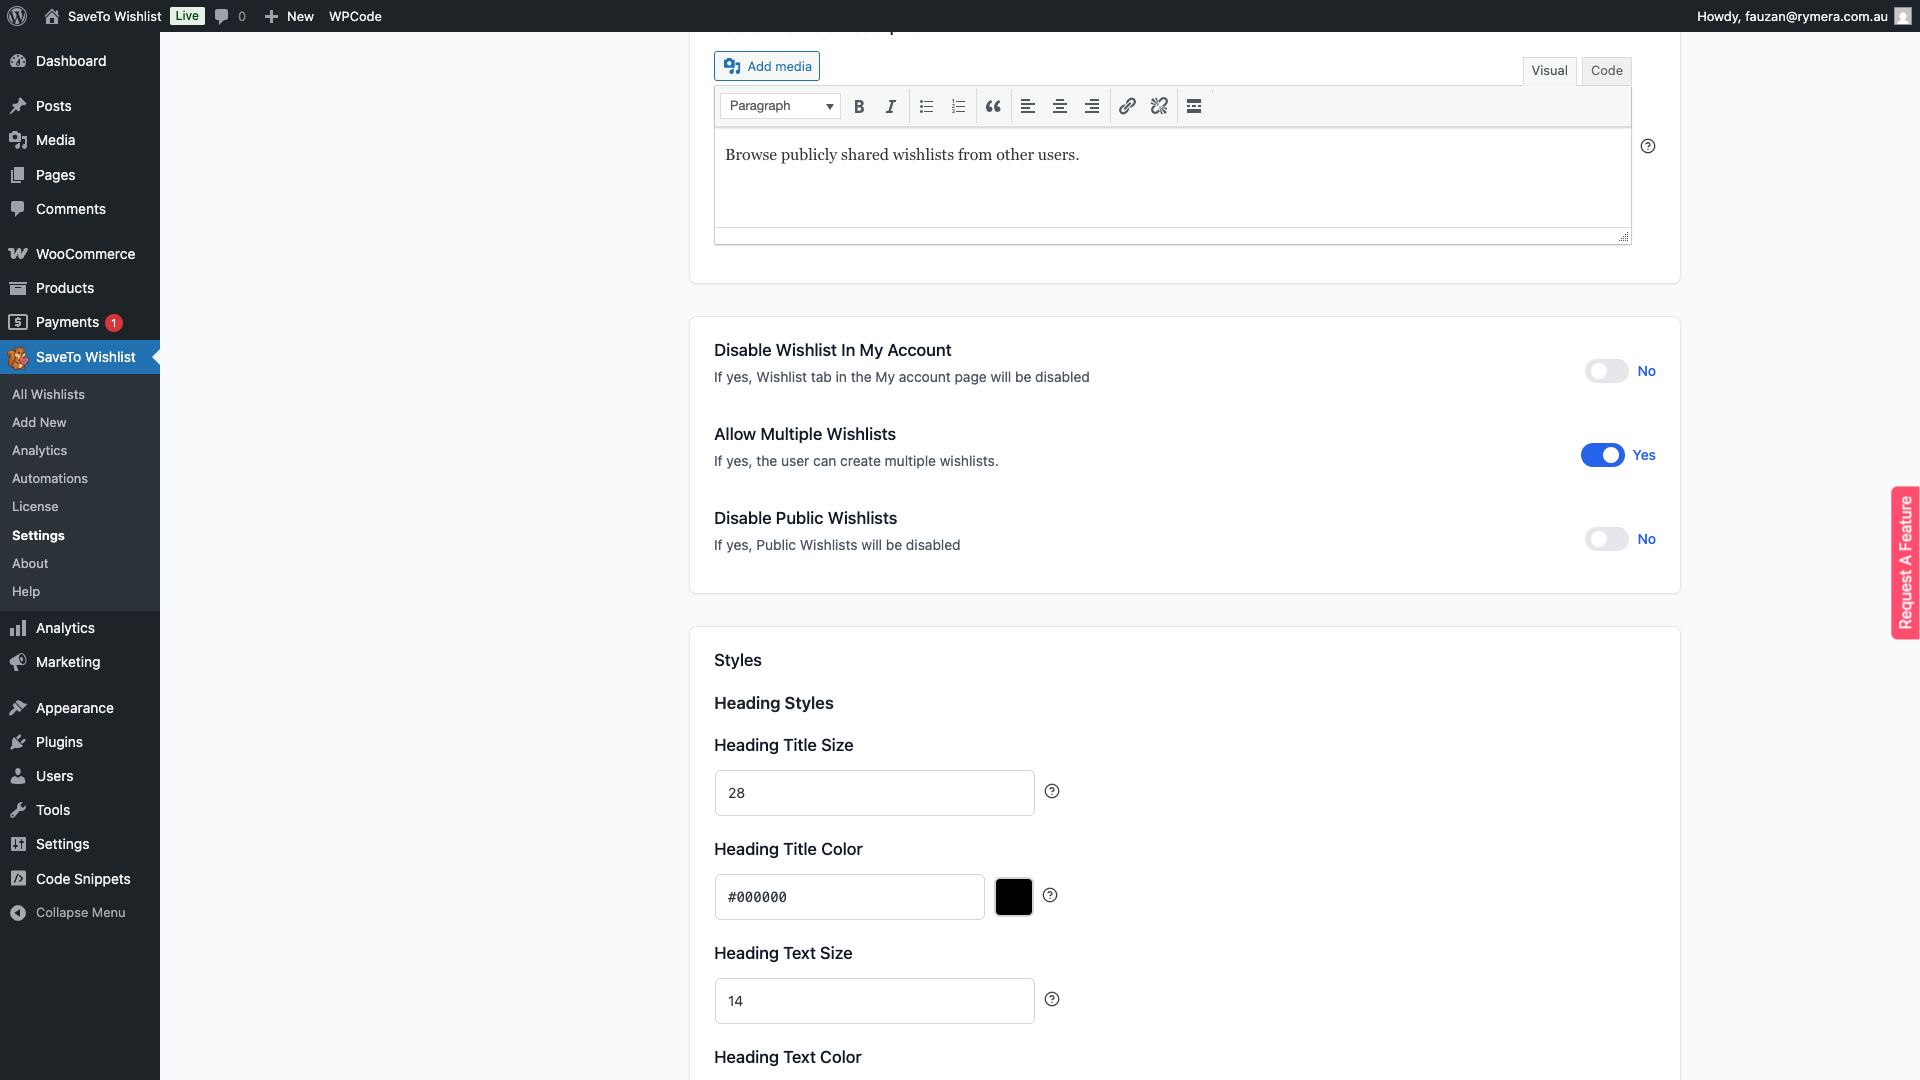
| Setting | Description | Default |
|---|---|---|
| Disable Wishlist in My Account | When enabled, the Wishlist tab is hidden from the WooCommerce My Account area. Enable this if you prefer customers to access their wishlist only from the dedicated wishlist page. | Disabled |
| Allow Multiple Wishlists | When enabled, customers can create and name more than one wishlist, for example a Birthday list and a Christmas list. When disabled, each customer is limited to a single wishlist. See also: How to Set Wishlist to Single or Multiple Mode | Enabled |
| Hide Disabled Add to Cart Buttons | When enabled, the Add to Cart button is hidden on the wishlist page for any product that cannot be bought right now, which covers products that are not purchasable, out of stock, or have no price. Leave it off to show a disabled button instead. | Disabled |
| Disable Public Wishlists | When enabled, the public wishlists section is hidden from the wishlist page. Customers will not be able to browse wishlists that other users have made publicly visible. | Disabled |
Styles
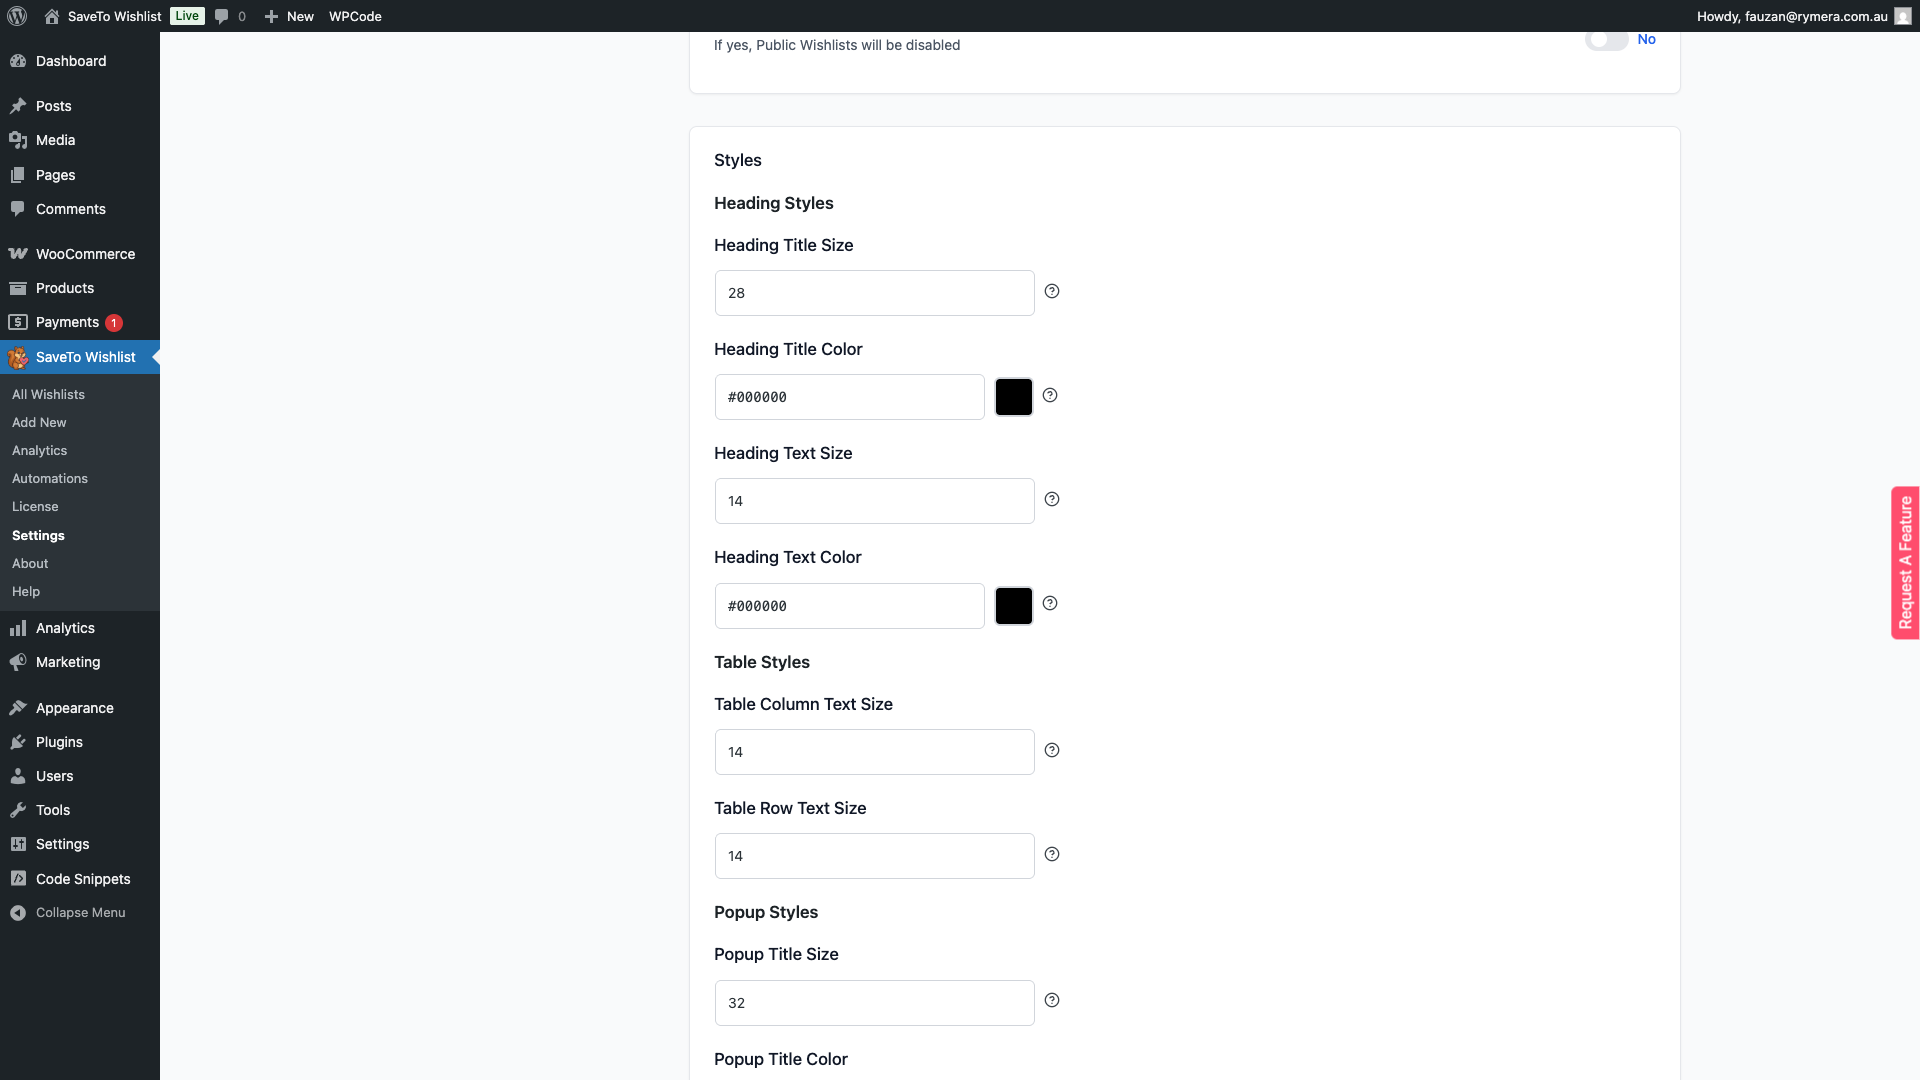
The Styles section at the bottom of the Wishlist Page tab controls the visual appearance of the wishlist page heading and product table. You can set the font size and colour for both the heading title and description text, and adjust the column text size in the wishlist table. These controls let you match the wishlist page to your store’s design without writing custom CSS.
Troubleshooting
I can’t find Cart item selection. This setting only appears once Add cart products to wishlist is enabled. Turn that on first, then the option appears below it.
A Pro setting from this article is missing from my Settings screen. Public Wishlists Title, Public Wishlists Description, and Text For Products Without A Price all require SaveTo Wishlist Pro to be active with a valid license. Check your license status under SaveTo Wishlist → License. If only Text For Products Without A Price is missing, check your Pro version too: that one needs 1.0.4 or later.
Frequently asked questions
What happens if I don’t select a Redirect page?
If the Redirect page field is left empty, SaveTo Wishlist will send customers to the WooCommerce My Account page after they add a product to their wishlist.
Can I keep items on the wishlist after they’re added to the cart?
Yes. Disable the Auto remove product toggle on the General tab. Items added to the cart will stay on the customer’s wishlist until manually removed.
What’s the difference between the Popup and Fade button actions?
The Popup action opens a confirmation dialog after the customer saves a product, which can include a link to view their wishlist. The Fade action gives a subtle visual confirmation directly on the button. It briefly fades to signal success without opening a dialog or navigating away from the current page.
Need help?
If you have a question or run into any issues, we’re here to help.
- Premium users: Open a support ticket
- Free users: Visit our community forum

