
Running your store on the Woostify theme? SaveTo Wishlist styles the wishlist button to fit Woostify’s product grid and product pages automatically, so it looks like a native part of your store. This article explains what happens and what you still control.
Before you start
- The Woostify theme, or a Woostify child theme, set as your active theme.
- SaveTo Wishlist active. The styling loads automatically, there’s nothing to set up.
How it works
Woostify uses its own product grid and single-product layouts, which can leave a wishlist button looking slightly out of place. When Woostify is your active theme, SaveTo loads a set of matching styles so the button sits neatly in the product cards on your shop page and on each single product page.
This also covers Woostify child themes. SaveTo checks the active theme, so a child theme built on Woostify gets the same styling.
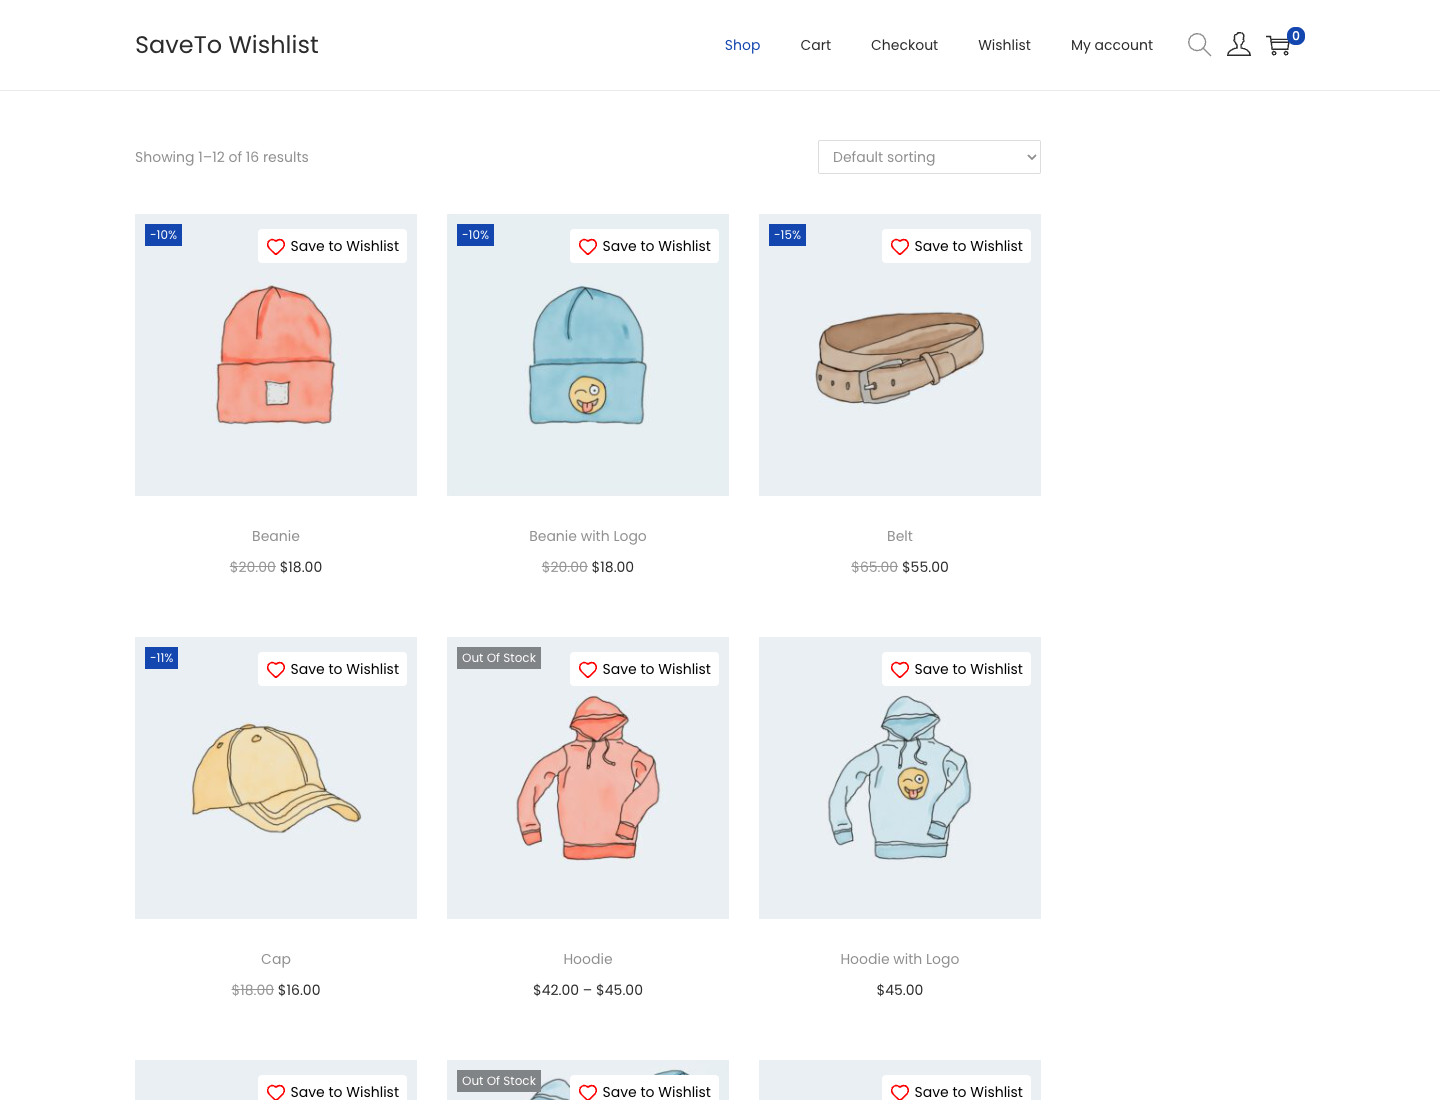
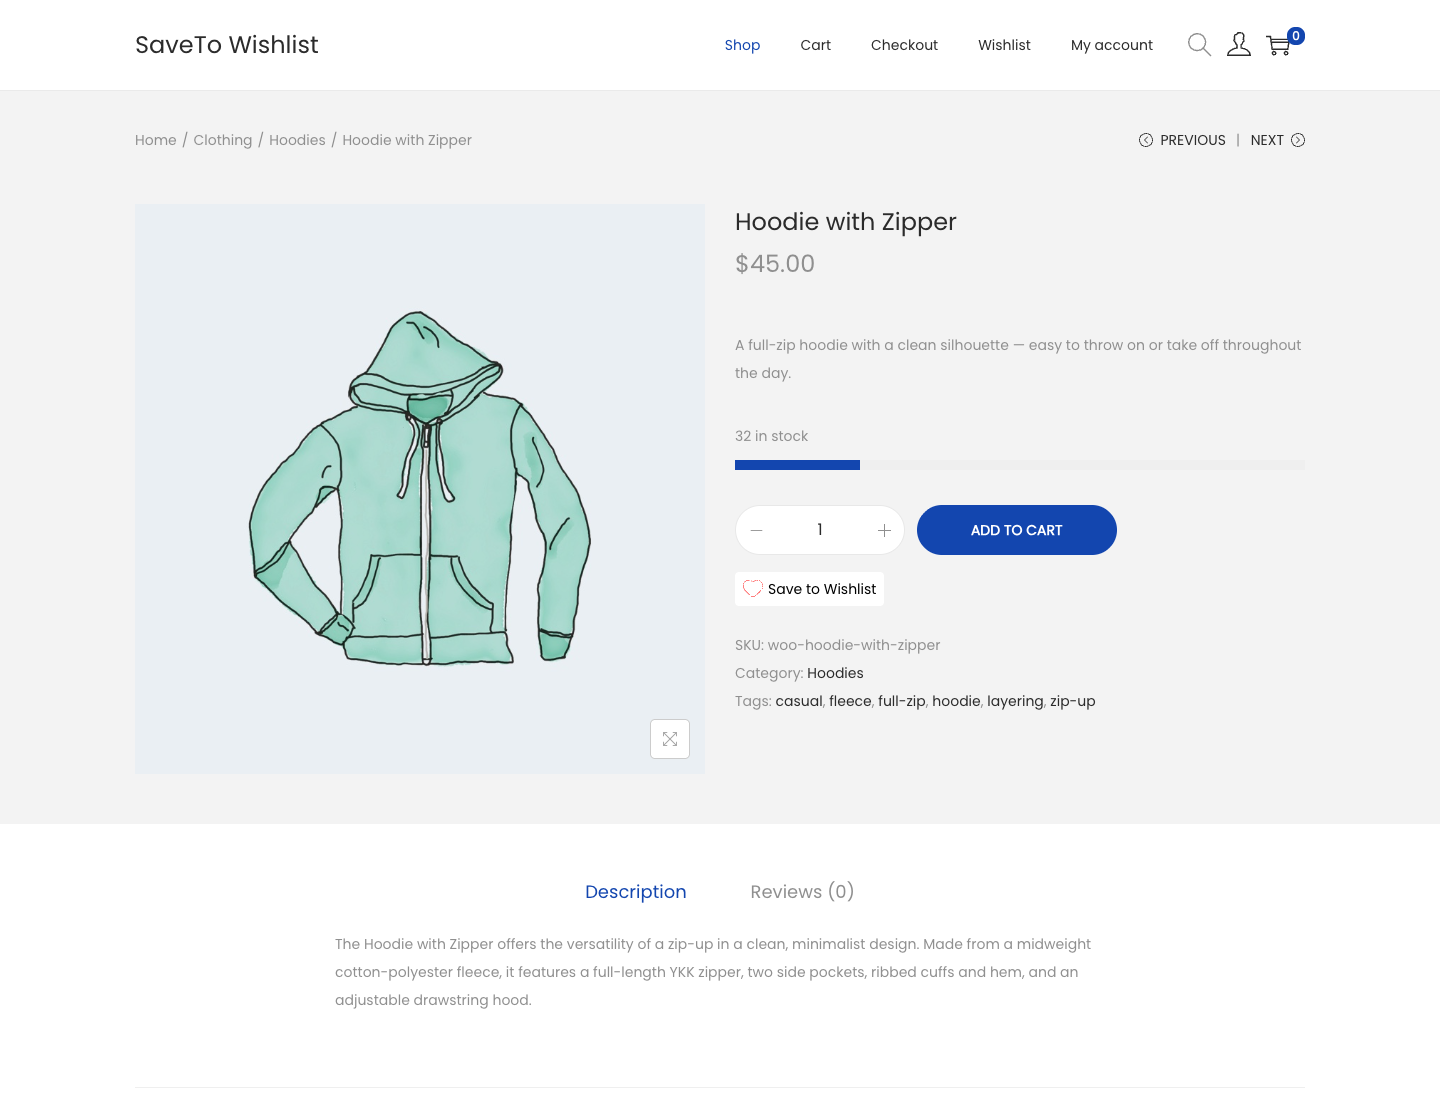
What you still control
You choose where the button appears and how it looks in SaveTo Wishlist, then Settings, then the Button Placement & Styles tab, the same as with any theme. The Woostify styling adapts to the placement and style you pick, it doesn’t override your choices.
Frequently asked questions
Do I need to set anything up?
No. As long as Woostify is your active theme, the matching styles load on their own.
Does it work with a Woostify child theme?
Yes. SaveTo checks the active theme, so a child theme built on Woostify gets the same styling.
I use a different theme. Does this affect me?
No. These Woostify styles only load when Woostify is your active theme. On other themes the button uses its normal styling.
Need help?
If you have a question or run into any issues, we’re here to help.
- Premium users: Open a support ticket
- Free users: Visit our community forum

