
 Reviewed by
Picture this: a shopper finds a jacket they like, but payday is next week. They tap the heart to save it, and your store asks them to create an account first. Many of them close the tab instead.
When shoppers won’t create an account to save items, the save button is asking for too much, too soon. That costs you more than one click. After all, a saved product tells you what someone wants to buy. Without it, you have no list to bring them back to.
The fix is a wishlist without login, plus a better moment to ask for the account. Below, I’ll show you how to spot the login wall in your own store. Then you’ll see how to let guests save, and when to ask them to sign up.
Jump to:
How To Tell The Login Wall Is Costing You Saves
Luckily, you can usually spot the login wall in your own store data. Look for saves that start but never finish.
Shoppers already push back on accounts at checkout. Baymard Institute tracks why US shoppers abandon orders. In its research, 18% named this reason: “The site wanted me to create an account.” On top of that, its average across 50 studies puts cart abandonment at 70.22%.
A save is a much smaller step than a purchase, though. So a sign-up form in front of it feels even bigger.
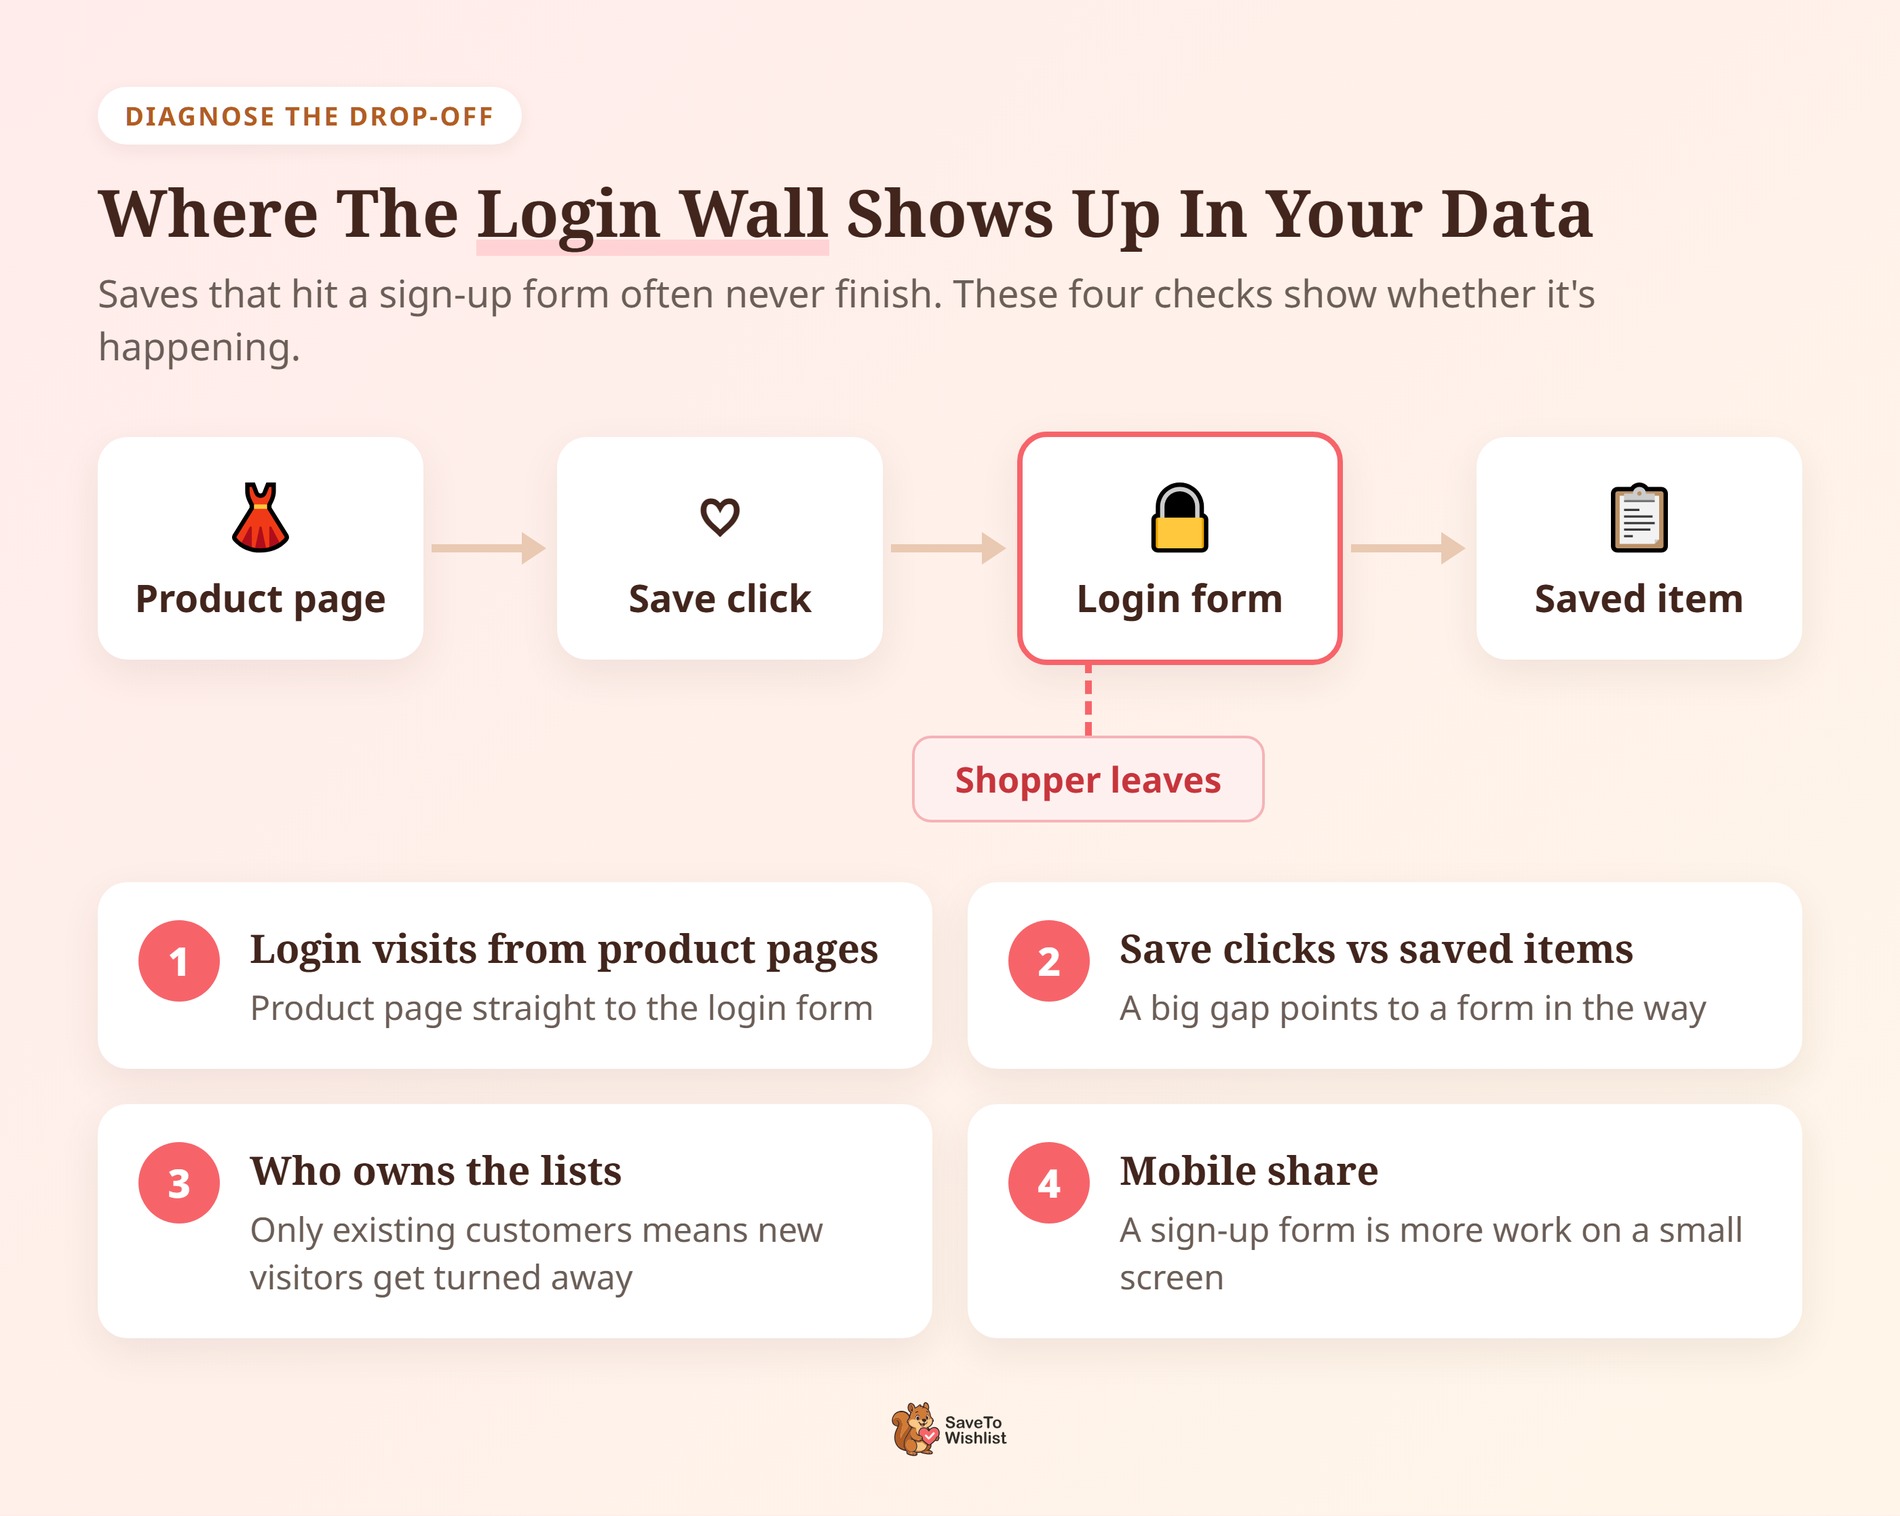
To see whether this is happening on your store, run these four checks:
- Login visits from product pages: Check how many login or My Account visits come straight from a product page. A high share often means the save button is sending people there.
- Save clicks versus saved items: If you track clicks on the save button, compare them with the items actually saved. A big gap points to a form in the way.
- Who owns the lists: Check whether saved lists belong almost only to existing customers. If new visitors never show up, they’re likely being turned away.
- Mobile share: Note how much of your traffic is on phones. A sign-up form is more work on a small screen, so the wall matters more there.
🔍️ What we’ve seen: The login wall isn’t always a choice. In practice, a theme or plugin setting sometimes limits the wishlist to logged-in users, and nobody notices. So before you change anything, open your store in a private browser window. Then click the save button as a guest.
Let Guests Save Without An Account

The simplest fix is to remove the wall. In other words, let any visitor save a product, whether they’re logged in or not.
That’s exactly what a guest wishlist does. A shopper clicks save, the item goes on their list, and nobody asks for an email address. As a result, your save button becomes a one-click action again.
We built the free SaveTo Wishlist Lite plugin to handle this out of the box. When we checked the defaults in Lite 1.1.6, Disable Guest Wishlist was set to No. That means guest saving is on as soon as you activate the plugin. Plus, you don’t need the Pro version for it.

For the full walkthrough, see how to set up a guest wishlist in WooCommerce, including button placement and testing. Beyond that, you can change the heading and description guests see on their list. That way, it sounds like your store. Here’s how to customize your guest wishlist page.
Ask For The Account At A Natural Moment
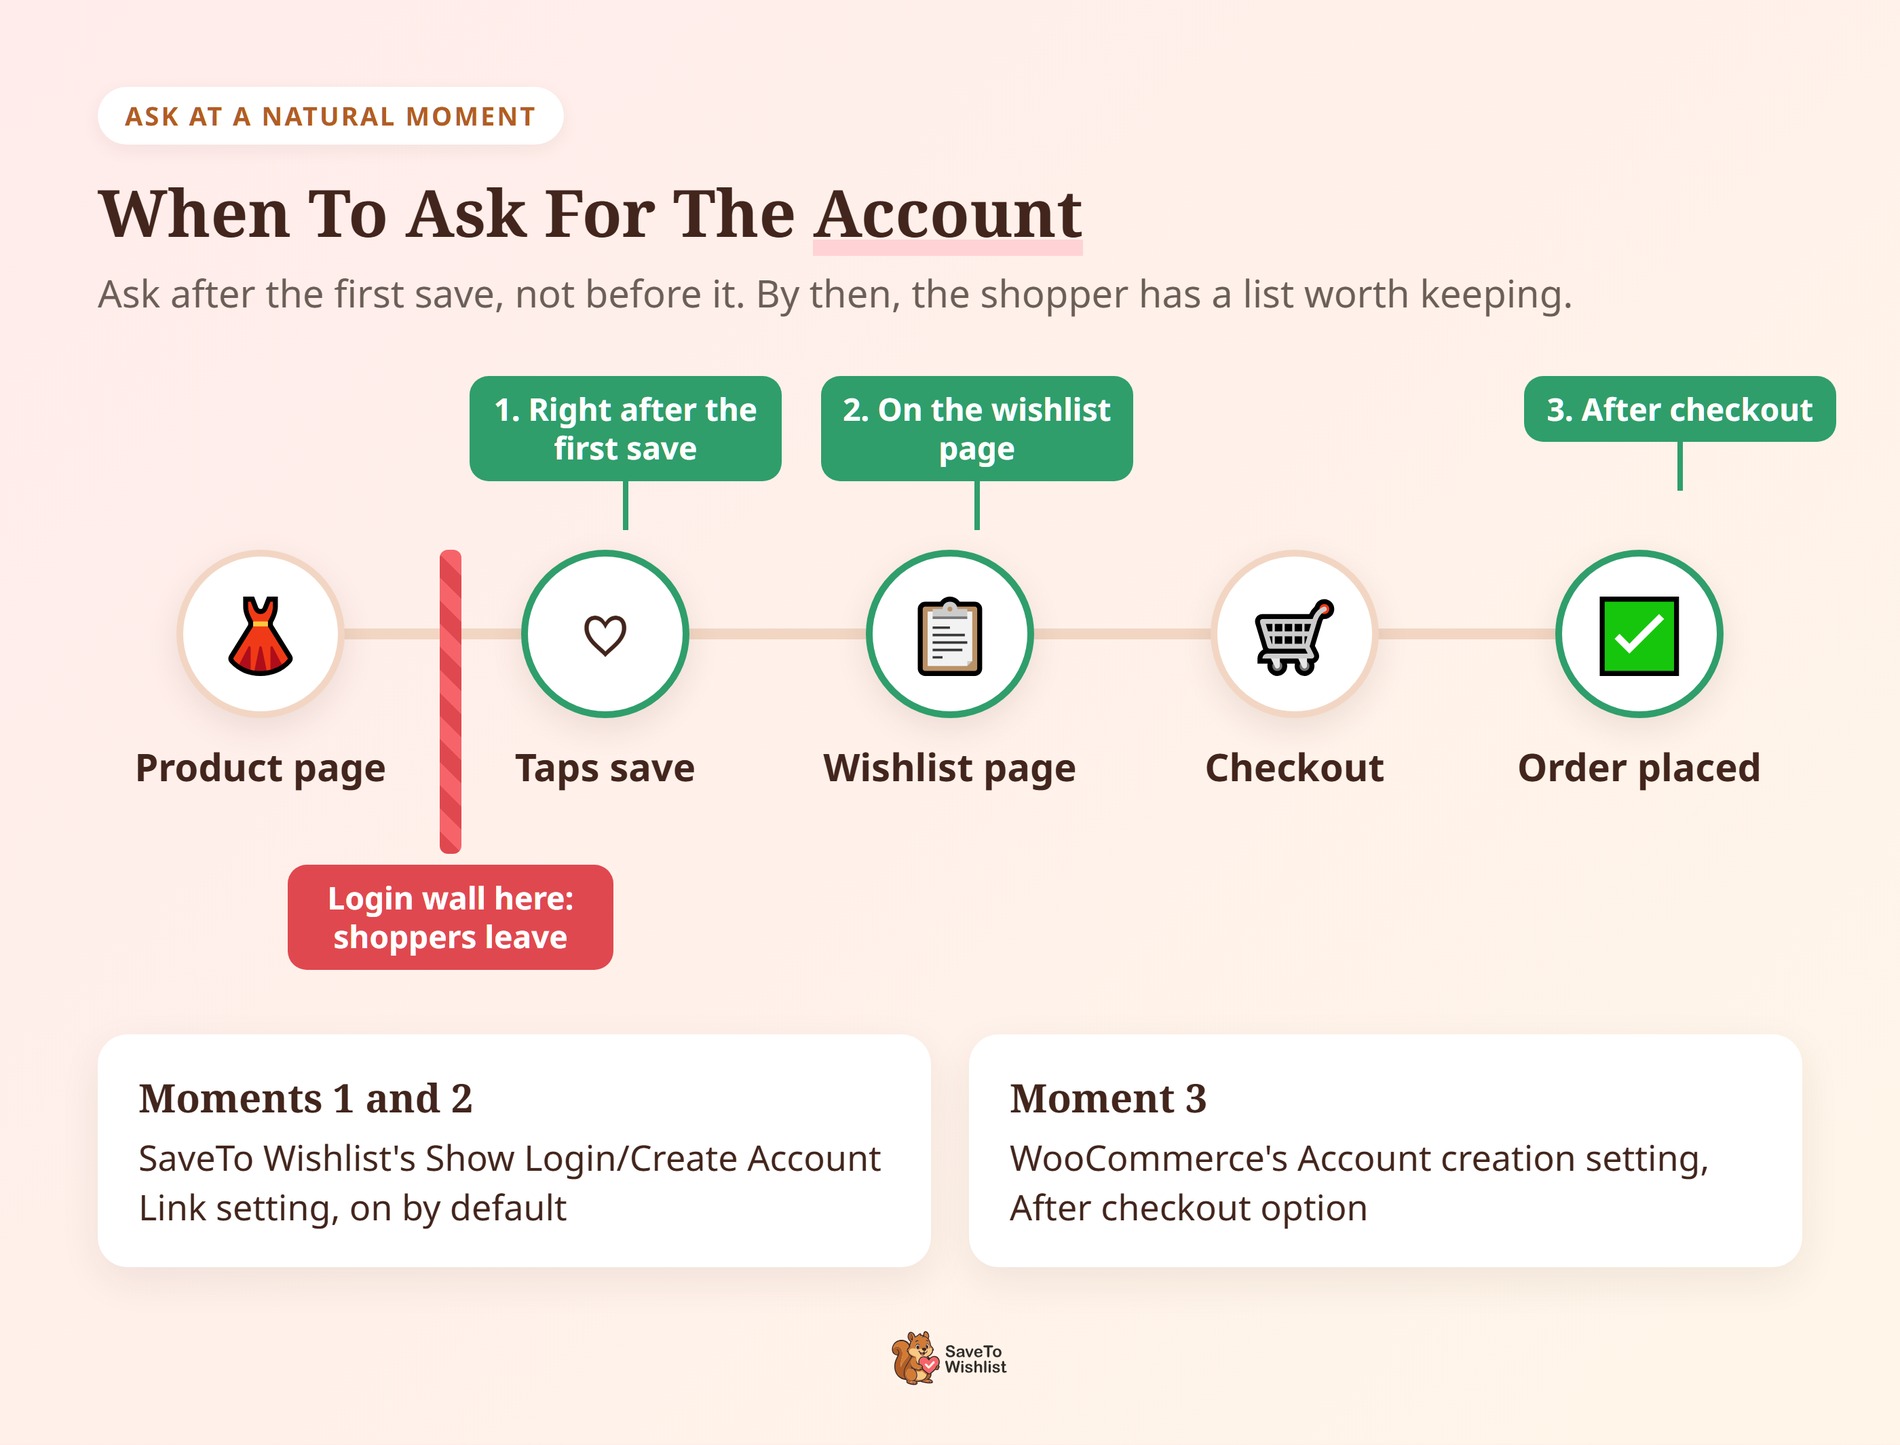
Ask for the account after the shopper has saved something, not before. By then, they have a reason to keep their list.
Interestingly, Baymard applies the same idea to checkout. Its checkout form research recommends saving account creation for the order confirmation step. Even so, it found 84% of the sites it reviewed don’t do this.
For a wishlist, good moments to ask include:
- Right after the first save: A short note that they can keep their list by creating an account.
- On the wishlist page: When they come back to look at what they saved.
- After checkout: WooCommerce can offer the account once the order is placed. Look for Account creation in the Accounts & Privacy settings, which needs guest checkout turned on.
How To Turn On The Account Link In SaveTo Wishlist
In SaveTo Wishlist, the first two moments are one setting. To use it, go to the Guest Options settings and find Show Login/Create Account Link. It’s set to Yes by default.
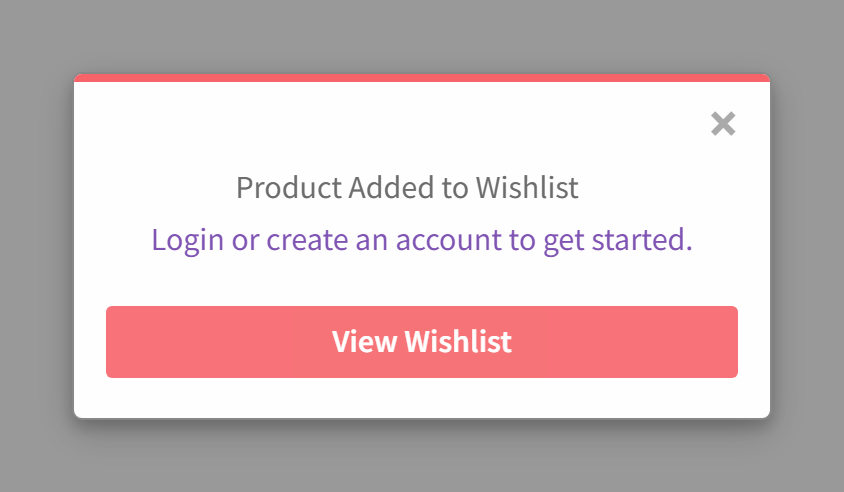
With Yes, guests see a login or create-account link in the confirmation popup and on the guest wishlist page. The default prompt reads “Login or create an account to get started.” On the other hand, No hides the link in both places.

One thing to check: the popup only appears if your Add to wishlist button setting is Popup. With the default Redirect setting, guests go straight to their wishlist page instead. They’ll see the link there. For a closer look, our post on the guest wishlist login link shows where to find the setting.
You can also give shoppers a reason to say yes, like a discount for signing up. For more ideas, see these three ways to turn guest wishlist users into registered customers.
Keep Their List When They Sign Up
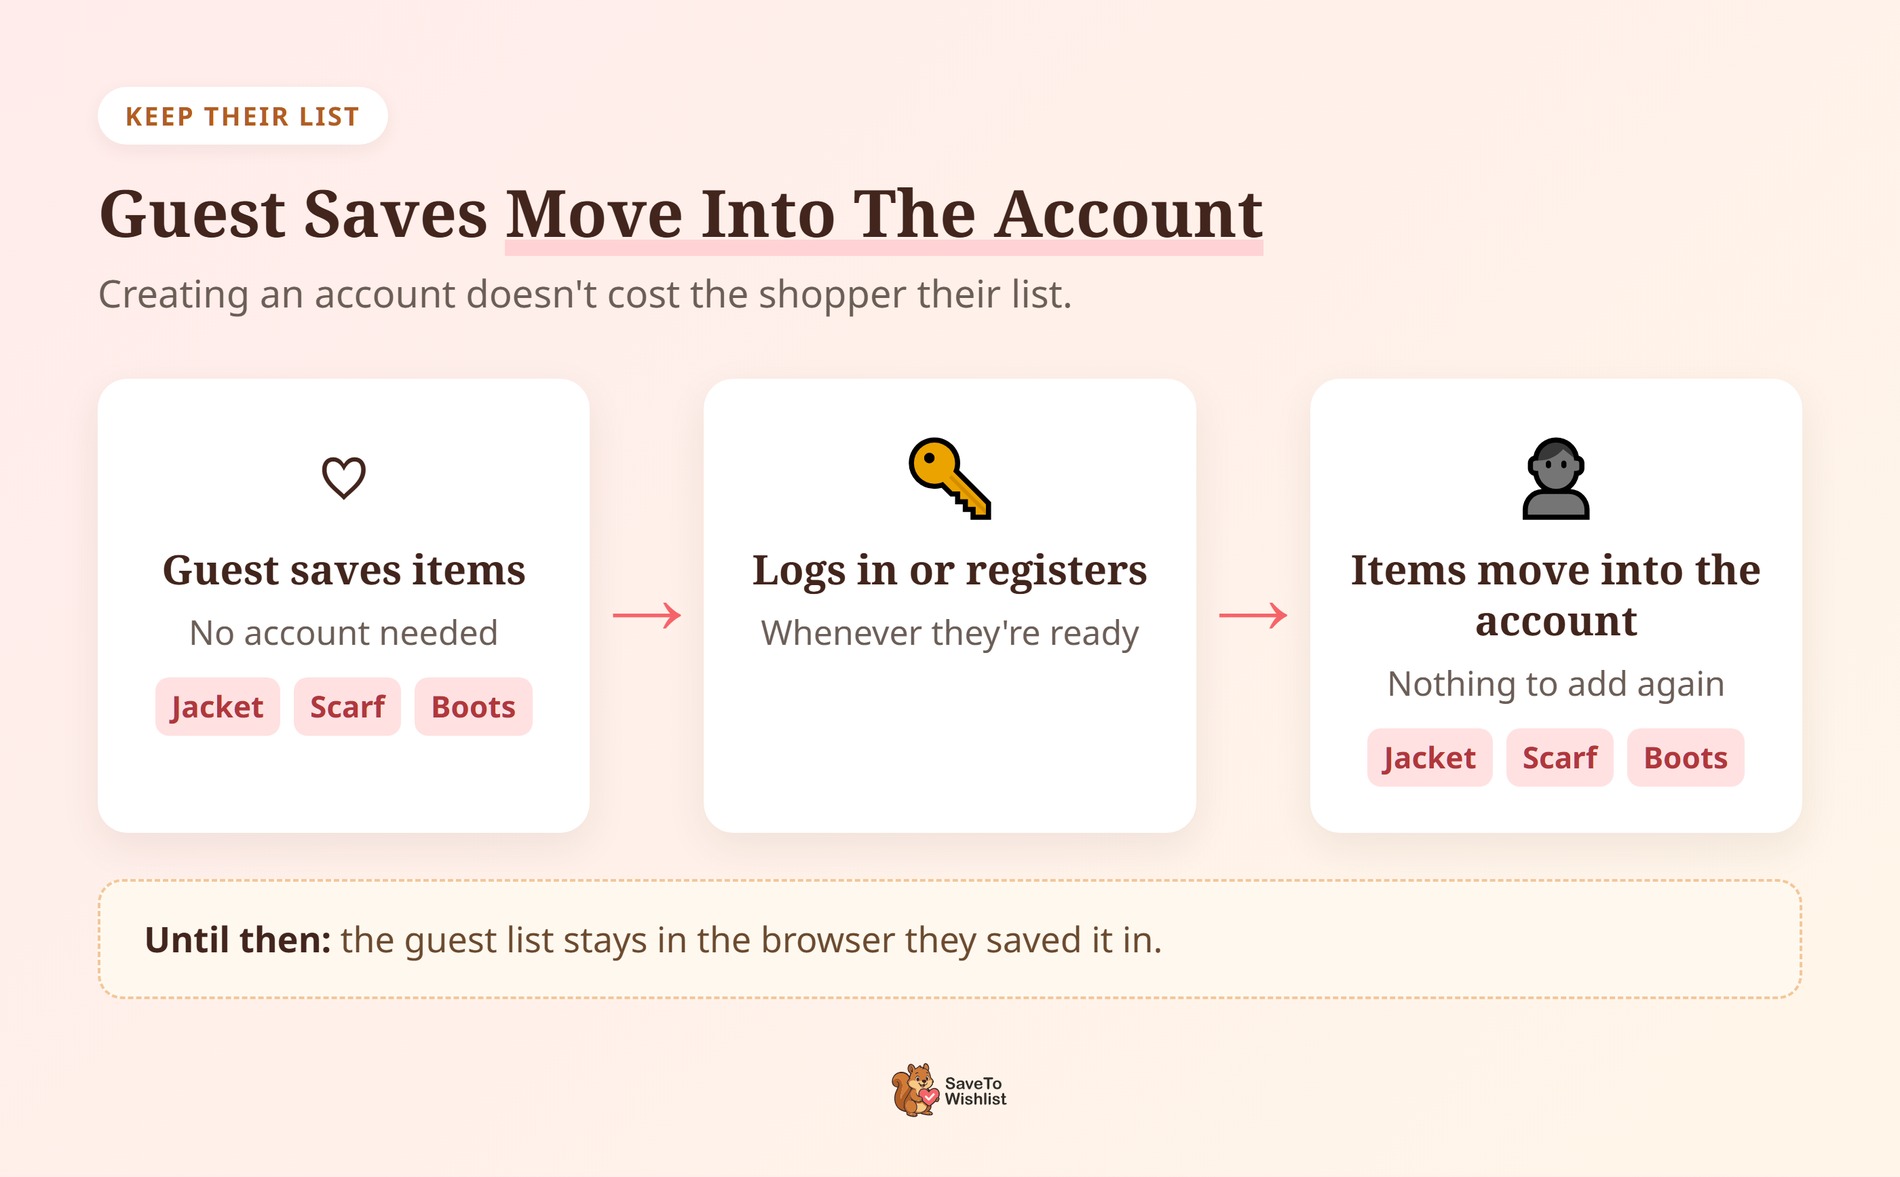
A guest won’t lose their saved items by creating an account.
When a guest logs in or registers, SaveTo Wishlist moves the items they saved into their account. Until then, though, the list stays in the browser they saved it in. For the details, the guest wishlist guide explains how the merge on registration works.
Once a shopper has an account, you can follow up on what they saved. For example, our guide to WooCommerce browse abandonment covers how to win back shoppers who looked but didn’t buy. And to get more people saving in the first place, see how to optimize your WooCommerce wishlists.
Frequently Asked Questions
Can customers use a WooCommerce wishlist without logging in?
Not with WooCommerce alone, because WooCommerce doesn’t include a wishlist. You need a wishlist plugin that supports guests.
SaveTo Wishlist Lite is free and lets logged-out visitors save products with no account. Guest saving is on by default, and the Disable Guest Wishlist setting turns it off. Until the shopper logs in or registers, saved items stay in their browser.
Do guests lose their saved items when they create an account?
No. When a guest logs in or registers, SaveTo Wishlist merges their saved items into their account. Nothing has to be added again.
The catch is the browser, though. The guest list lives in the browser they used. So if they clear their browser data or switch devices before signing in, those items stay behind.
Should I turn off guest checkout to get more accounts?
Usually not. Forced accounts are a known reason for abandoned orders. In Baymard’s research, 18% of US shoppers who abandoned an order gave it as a reason.
Instead, keep guest checkout and give shoppers a reason to register later, such as keeping their wishlist. WooCommerce itself labels Enable guest checkout as recommended in its Accounts & Privacy settings.
Can I hide the login prompt from guests?
Yes. In SaveTo Wishlist, set Show Login/Create Account Link to No in the Guest Options settings. That hides the link in the guest confirmation popup and on the guest wishlist page.
Guests can still save items; they won’t see the prompt. This setting is part of the free plugin.

Fix The Account Wall With A Wishlist Without Login
Most shoppers aren’t against accounts. Rather, they’re against being asked for one before they’ve decided anything. A wishlist without login lets them save first. It also gives them a real reason to sign up later.
- Check your data for saves that end on a login page.
- Turn on guest saving so any visitor can save a product.
- Ask for the account after the first save, not before it.
- Let the list follow them into their new account.
Your wishlist without login is one free plugin away. Install SaveTo Wishlist Lite, and guests can start saving right away.