
 Reviewed by
 You switch your store to Blocksy, open the shop page, and the product cards look great. Then you try a different wishlist button placement. With the top-left option, the button can sit on top of the SALE badge. On product pages, the inline option takes a whole row to itself under Add to Cart.
None of that is broken, exactly. It’s two well-built tools making different layout choices, and the gaps show up in the details. Those details are what a shopper notices when they decide whether to save something for later.
That’s why the free SaveTo Wishlist Lite plugin now ships a dedicated Blocksy wishlist integration. Below, I’ll show you what it changes and which placements suit Blocksy best. I’ll also show you how to check it.
Jump to:
- Why Wishlist Buttons Can Look Out Of Place On Blocksy
- What The SaveTo Wishlist Blocksy Integration Does
- What You Need Before You Start
- How To Pick Your Wishlist Button Placements On Blocksy
- When To Choose Top Right Instead Of Top Left
- How To Confirm The Blocksy Integration Is Working
- The Limits Worth Knowing
- Frequently Asked Questions
- Ready To Set Up Your Blocksy Wishlist?
Why Wishlist Buttons Can Look Out Of Place On Blocksy
Blocksy keeps WooCommerce’s own product markup but lays it out with its own settings. That’s how Blocksy gives you so much control over your shop layout. However, a plugin button dropped into that layout doesn’t automatically know Blocksy’s rules.
Our developers measured four specific spots where that showed up:
- Card alignment: Blocksy aligns card content from its own Content Alignment setting. The wishlist button was centered regardless, so on left-aligned cards it was the only thing out of line.
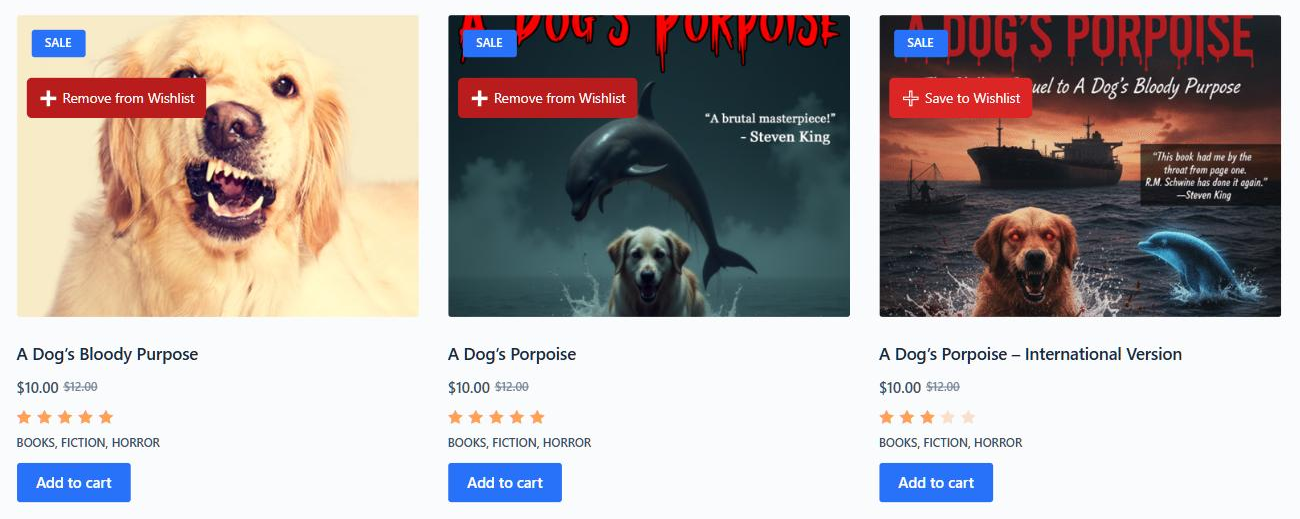
- The badge corner: Blocksy puts its Sale and out-of-stock badges in the card’s top-left corner. A wishlist button placed there sat on top of the badge and hid it.
- The product gallery: On product pages, the top-left image placement could land in the page corner, away from the photo.
- The Add to Cart row: Blocksy stretches extra items in that row to full width. So an “inline” wishlist button ended up on a row of its own.
Blocksy is a popular choice, so these details reach a lot of shops. According to its WordPress.org listing, Blocksy has more than 300,000 active installs and a 5-star average across 873 reviews. It’s made by CreativeThemes, and it features in roundups like Store Owner Tips’ guide to WooCommerce themes.
Getting the button right matters because saving is a real habit. According to Baymard Institute’s product page research, 21% of 1,193 study respondents rely on “Save” features. Yet 89% of the sites Baymard benchmarked don’t make Save features easy to access and use. A button that looks out of place doesn’t help, and it undercuts the conversion value of a wishlist.
What The SaveTo Wishlist Blocksy Integration Does
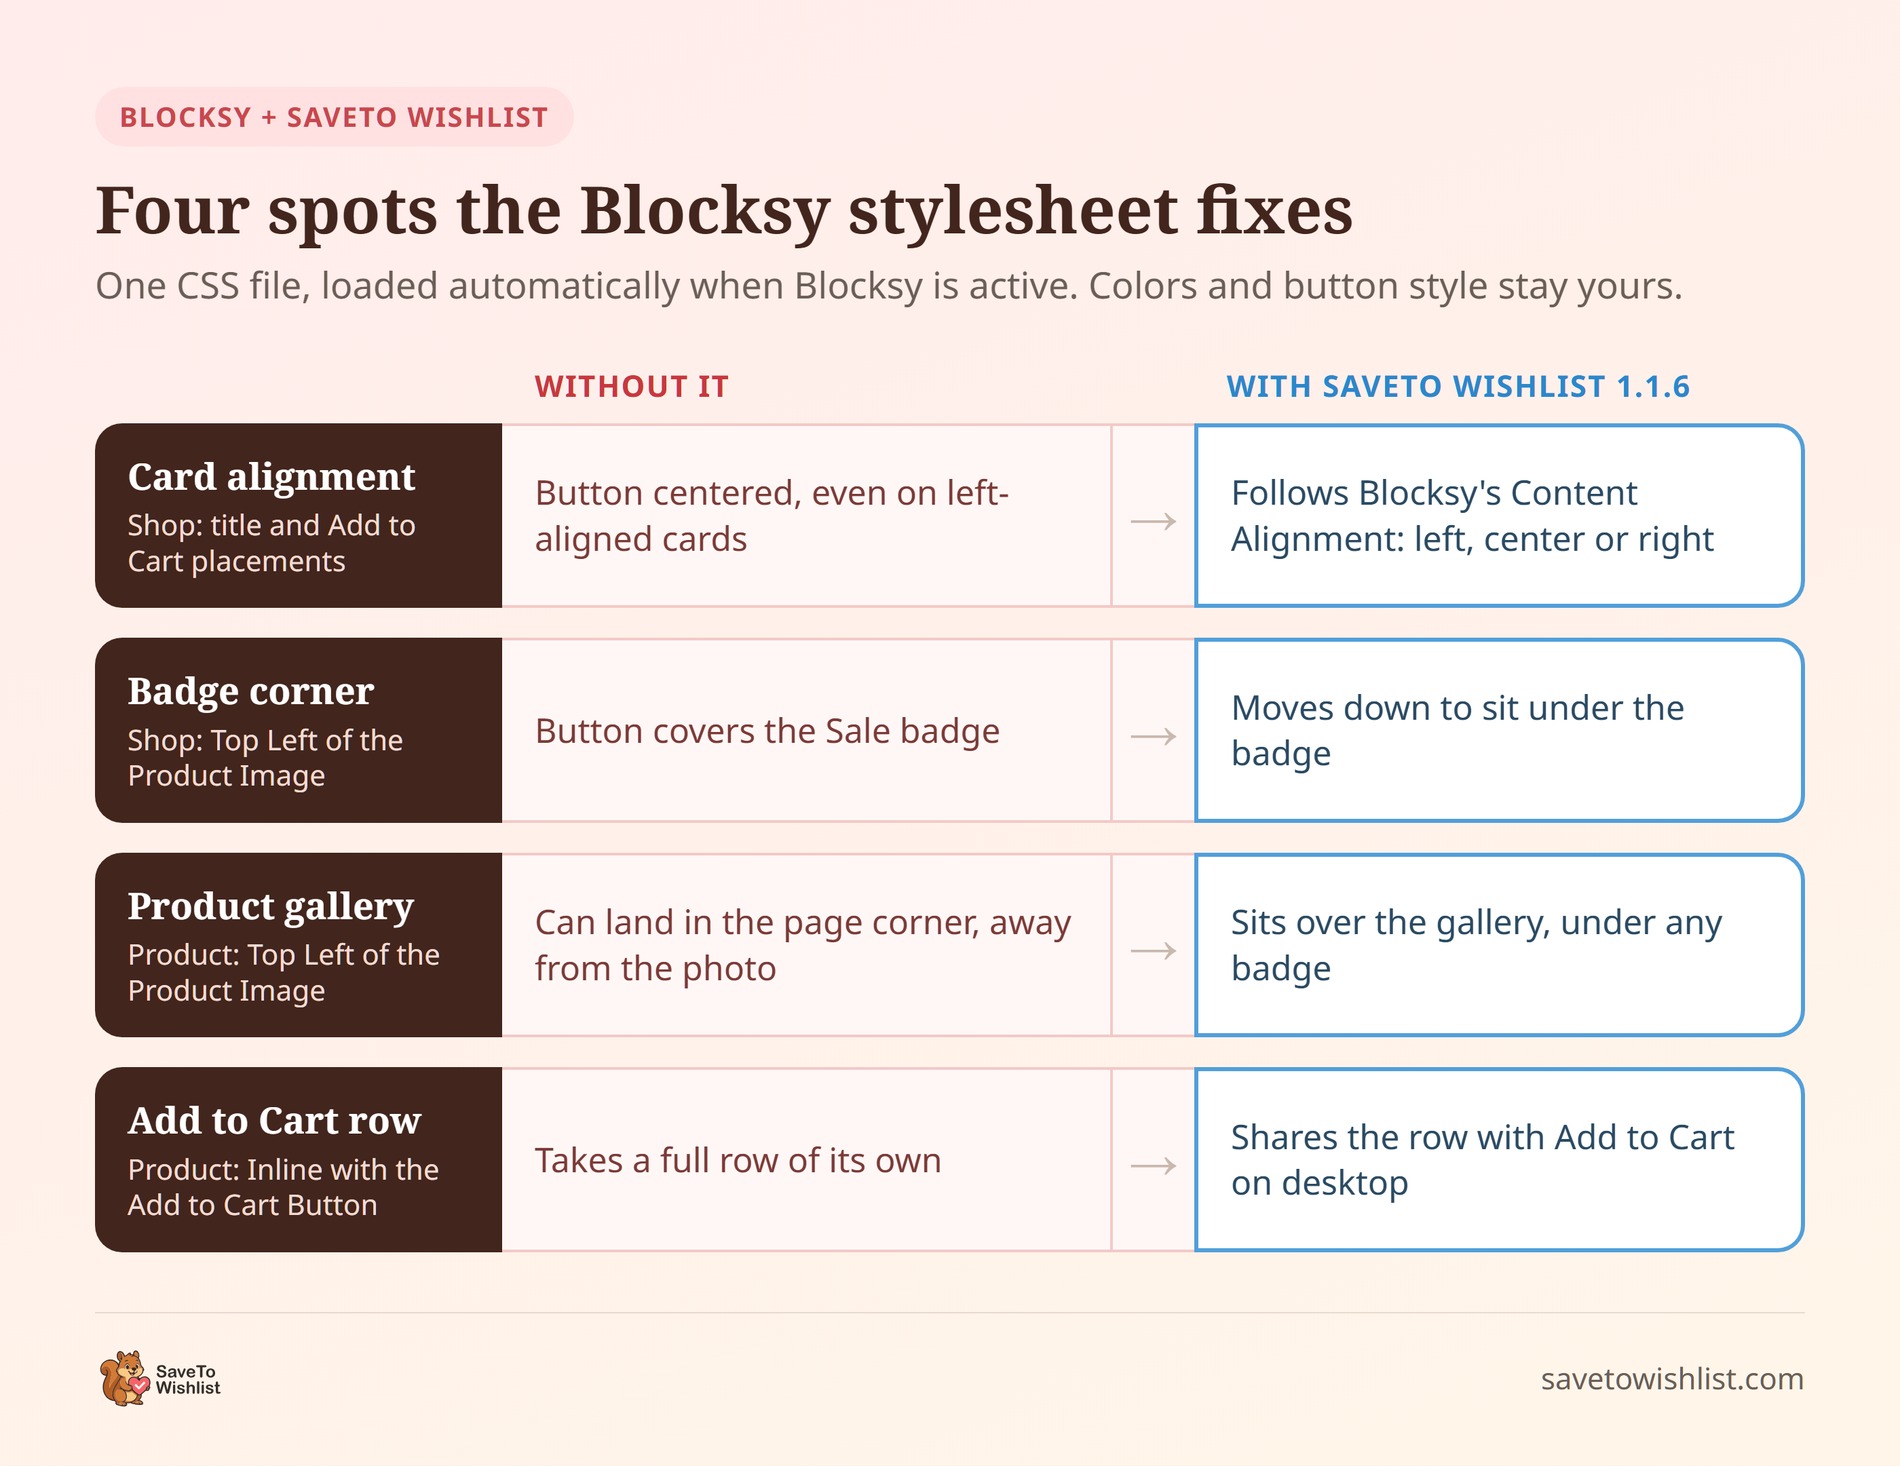
The integration is one extra stylesheet. SaveTo Wishlist Lite 1.1.6 loads it automatically whenever Blocksy, or a Blocksy child theme, is your active theme. There’s nothing to switch on.
| Placement | Without the integration | With the integration |
|---|---|---|
| Shop, title and Add to Cart placements | Button centered, even on left-aligned cards | Follows your Blocksy card alignment: left, center or right |
| Shop, Top Left of the Product Image | Covers the Sale or out-of-stock badge | Moves down to sit under the badge |
| Product, Top Left of the Product Image | Can land outside the product gallery | Sits over the gallery, under any badge |
| Product, Inline with the Add to Cart Button | Takes a full row of its own | Shares the row with Add to Cart |
The stylesheet only adjusts position, spacing and alignment. Your button colors, size and style stay exactly as you set them in SaveTo Wishlist. It also works with every Frontend CSS Loading mode. Stores that load minimal or no plugin styling get the same fixes.
Our Woostify integration works the same way: one theme-specific stylesheet, loaded automatically.
What the integration doesn’t do
The scope is deliberately small, which also keeps the risk low.
- No settings: There’s no Blocksy page, toggle or option in SaveTo Wishlist.
- No extra JavaScript: It’s CSS only, so it adds no scripts. Our speed test shows what the plugin itself adds to a product page.
- No new design: It doesn’t restyle the button to look like Blocksy’s own buttons. It fits your existing button into Blocksy’s layout.
- No other themes affected: The stylesheet loads only when Blocksy is the active theme. Our automated tests check both sides of that.
What You Need Before You Start
You need two things, and both are free.
- The Blocksy theme: Or a child theme built on it. Our developers measured the fixes on Blocksy 2.1.57, and we took the screenshots below on 2.1.58.
- SaveTo Wishlist Lite 1.1.6 or later: Earlier versions don’t include the Blocksy stylesheet. Update first if you’re on anything older.
The integration lives in the free plugin, so you don’t need SaveTo Wishlist Pro for it. Pro stores get it too, because Pro runs on top of the free plugin.
Blocksy is a classic theme, so your shop and product pages use the standard WooCommerce templates. If you build a page with the WooCommerce Product Collection block instead, the button still renders. There, the plugin’s own block handling places it. Building product pages with Elementor instead? Our Elementor widget guide covers that route.
How To Pick Your Wishlist Button Placements On Blocksy
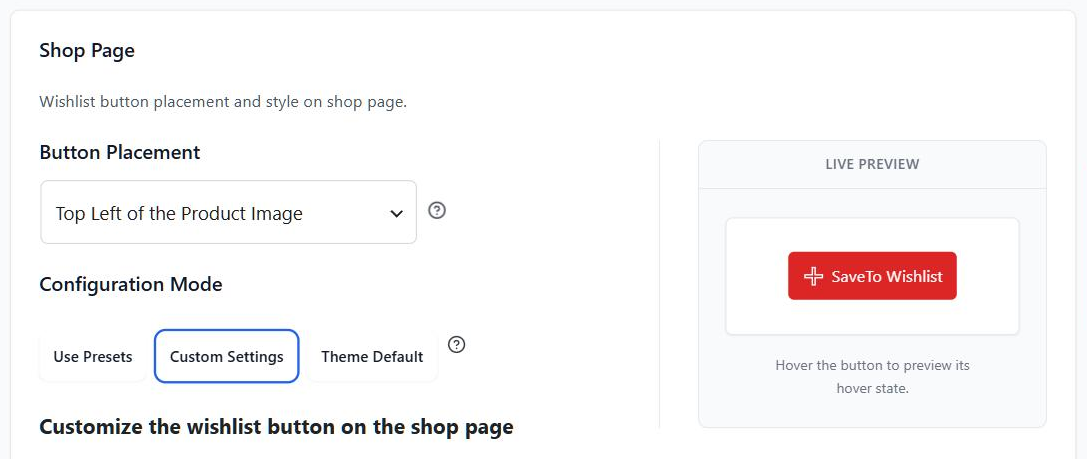
Every placement shows the button on Blocksy, so you’re choosing a look, not avoiding breakage. You’ll find both under SaveTo Wishlist > Settings > Button Placement & Styles. Look in the Shop Page and Product Page sections.
Shop page placements
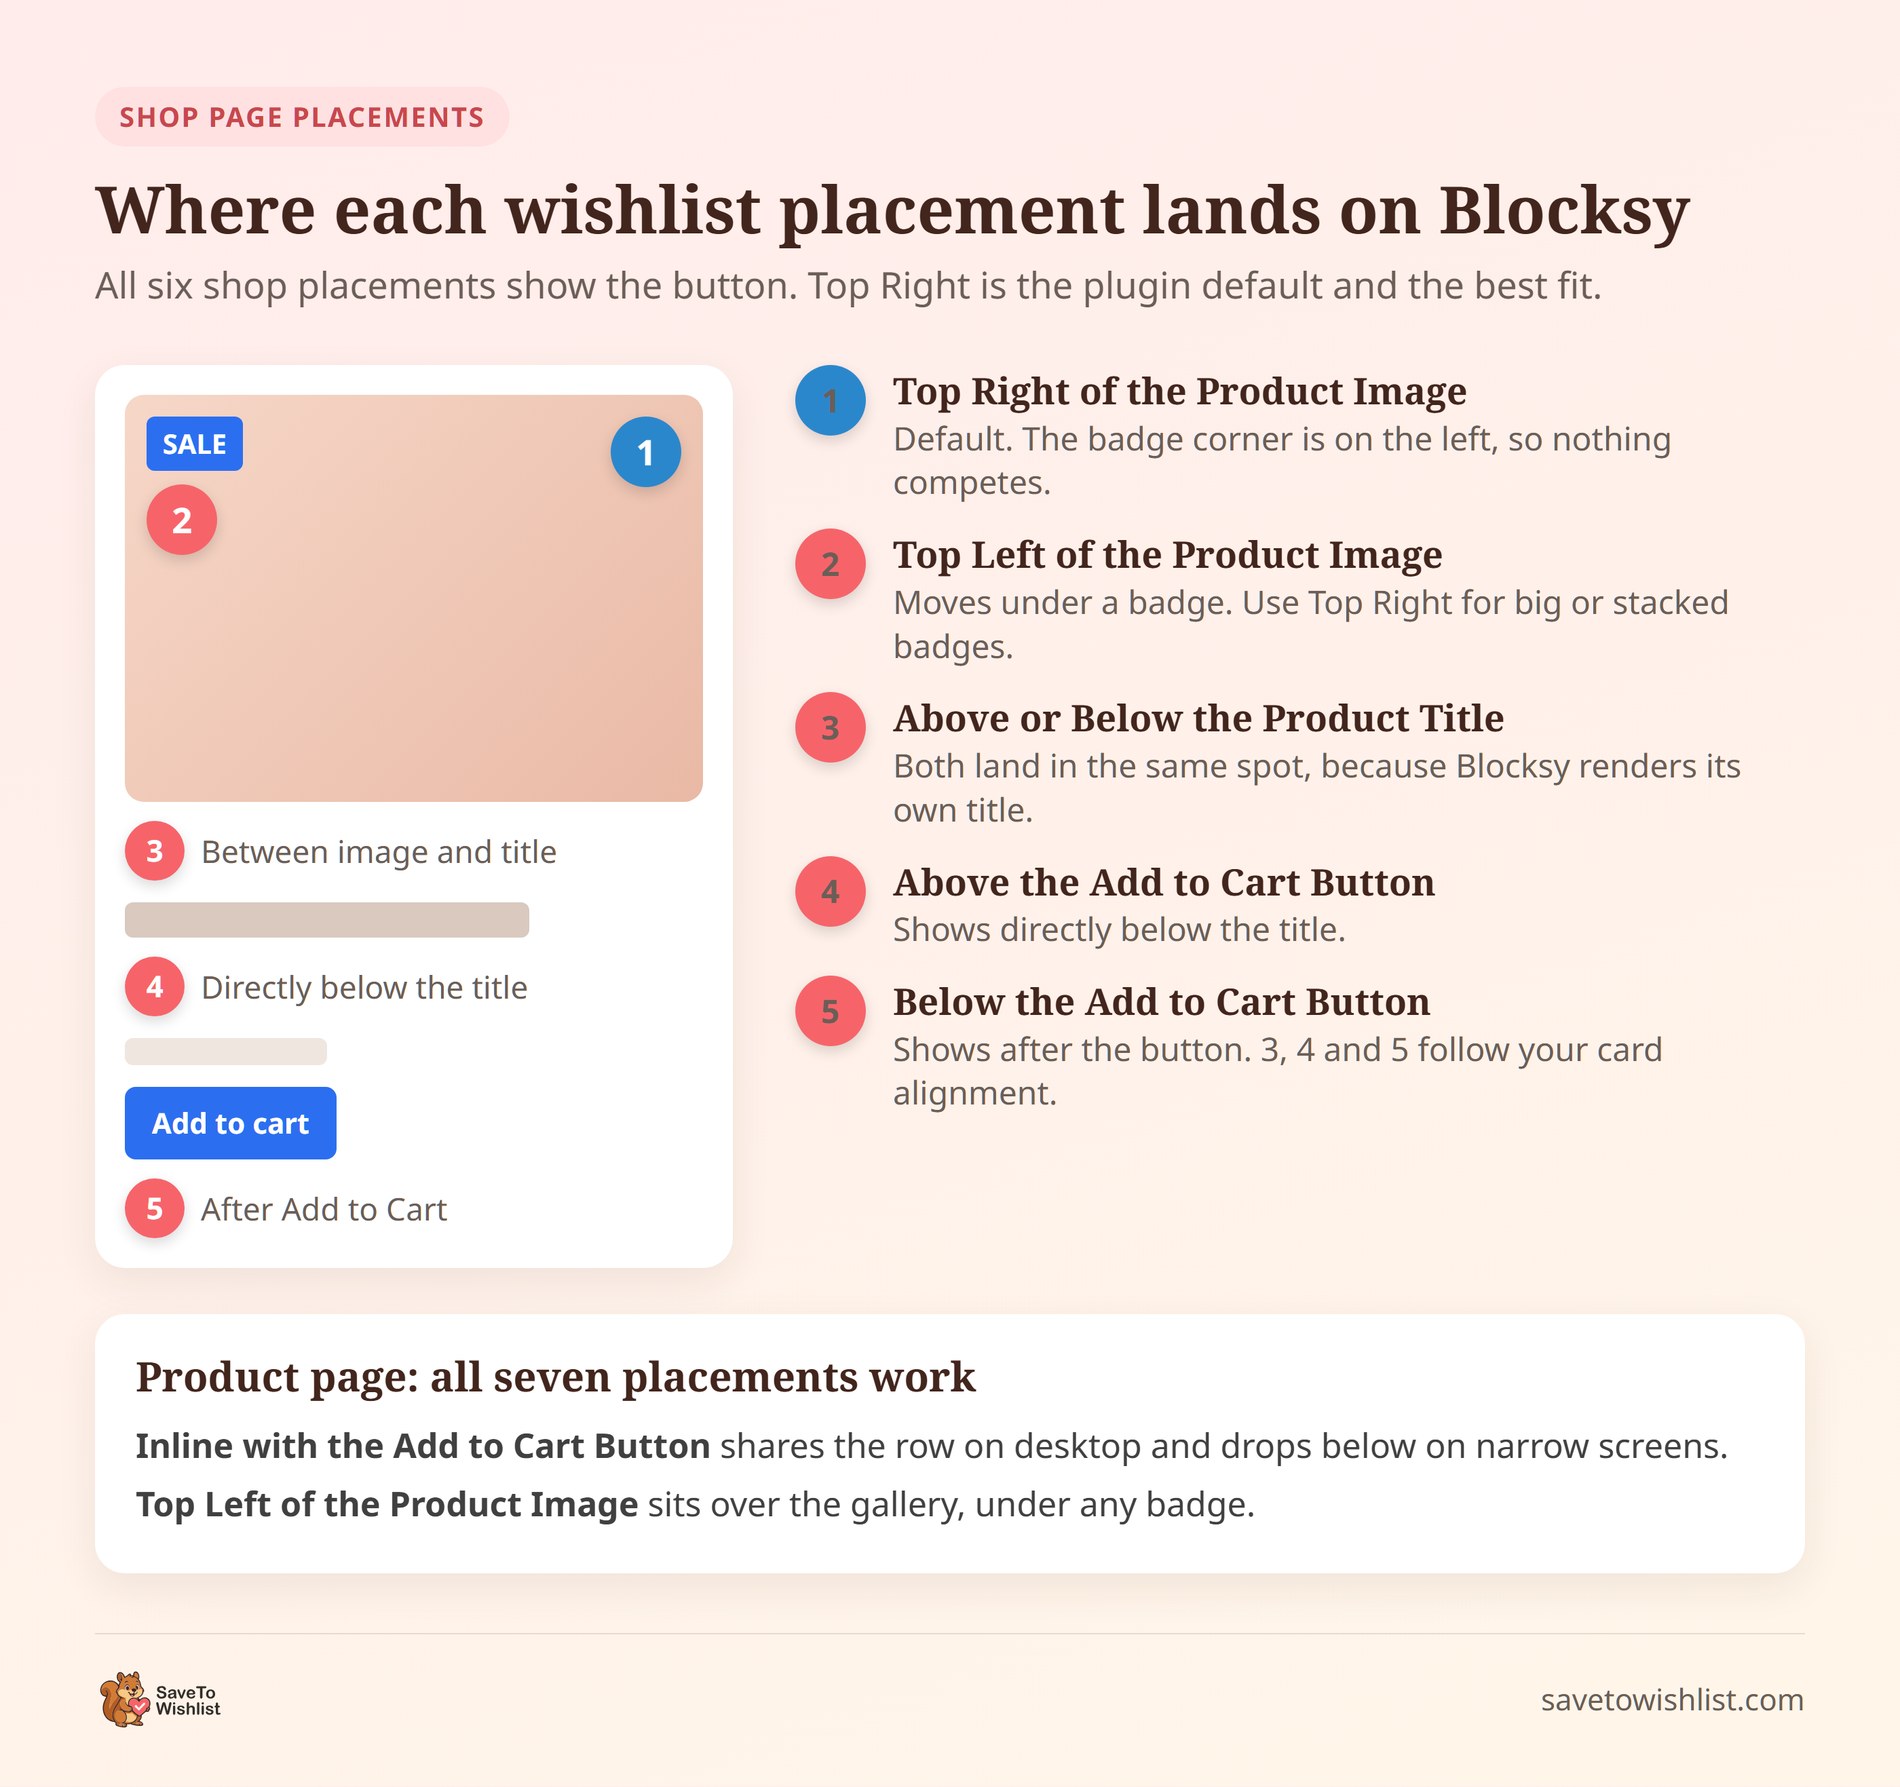
Here’s where each of the six shop placements lands on a Blocksy product card:
- Top Right of the Product Image: The plugin default, and the best fit for Blocksy. The badge corner is on the left, so nothing competes for this spot.
- Top Left of the Product Image: On a card with a badge, the button moves down to sit under it. On a card without one, it keeps its normal spot in the corner.
- Above the Product Title and Below the Product Title: Both show the button between the image and the title. That’s because Blocksy renders its own title.
- Above the Add to Cart Button: Shows the button directly below the title.
- Below the Add to Cart Button: Shows the button after the Add to Cart button.
The last four all follow Blocksy’s Content Alignment setting for product cards. Change your cards to center or right, and the button moves with them. Rather have no button on one page type? Choose Don’t show for it, as our guide to hiding the wishlist button explains.
🔍️ What we’ve seen: Above the Product Title and Below the Product Title look the same on Blocksy. If you switch between them expecting the button to move, it won’t, and that’s expected. Pick either one, or choose Above the Add to Cart Button if you want the button under the title.
Product page placements
All seven product page placements work on Blocksy. Two of them get specific help from the stylesheet.
Inline with the Add to Cart Button sits beside Add to Cart on desktop. On narrow screens, it moves under it, because Blocksy’s own button already fills the row there.
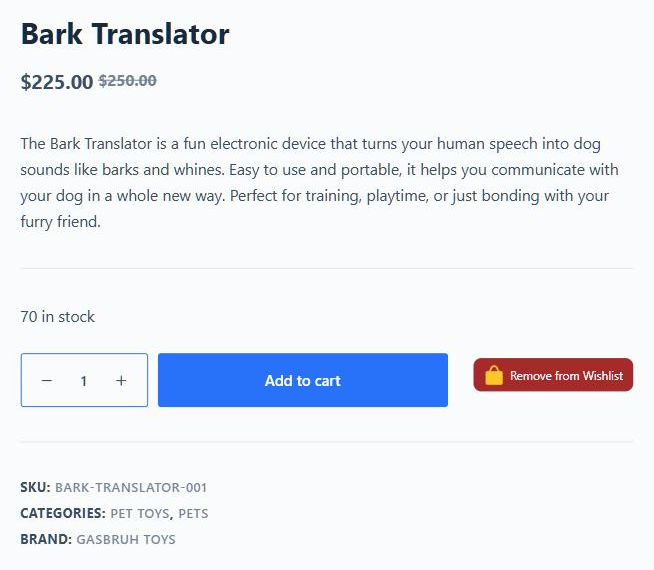
Top Left of the Product Image lands over the product gallery. On a product with a badge, it sits under the badge instead of covering it.
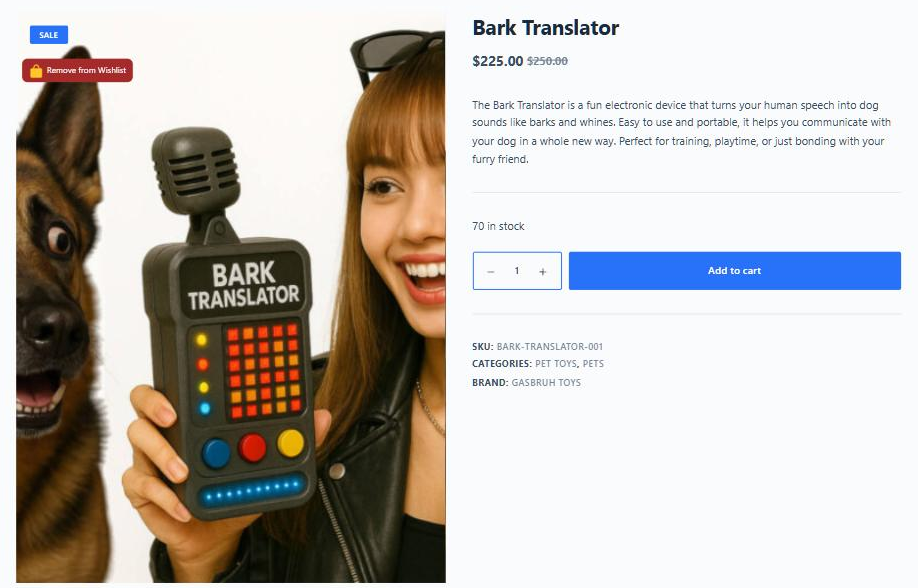
The other five placements need no special handling from the stylesheet.
When To Choose Top Right Instead Of Top Left
Choose Top Right of the Product Image if your products carry big or stacked badges. The Top Left adjustment clears one badge at Blocksy’s default badge size, and no more.
The stylesheet recognizes Sale badges, out-of-stock badges and Blocksy’s custom badges. It only moves the button on cards that actually show one. That’s why a mixed grid can have buttons at two different heights in the top-left corner.
So if your sales run several badges in the same corner, Top Right keeps every card consistent. It’s also the plugin default, so a fresh install on Blocksy already uses it.
Some shoppers save a product to wait for a better price. For them, SaveTo Wishlist Pro can send price drop alerts when a saved product gets cheaper.
How To Confirm The Blocksy Integration Is Working
These checks take a few minutes and cover the spots the stylesheet changes. Run them once after updating, and again after a big Blocksy update.
- Check the stylesheet loads: View a shop page’s source and search for
savetowishlist-blocksy.css. It should be there while Blocksy is active. If a minify plugin combines your CSS files, the name may not show. - Check a product on sale: With the Top Left image placement, the button should sit under the Sale badge.
- Check your card alignment: On left-aligned Blocksy cards, a title or Add to Cart placement should line up left too.
- Check the Add to Cart row: With the Inline placement, the button should share the row on desktop. On a phone, it drops below.
- Check as a guest: Open the shop in a private window. Guests see the same button, as long as guest wishlists are on.
If something still looks off, a cache or minify plugin may be serving old CSS. Clear it, then reload. For more ways to match the button to your theme, see our post on wishlist button icon options.

The Limits Worth Knowing
The integration covers the shop, archive and single product templates. A few things sit outside it.
- The cart page: Cart buttons, like the option to save individual cart items, use the plugin’s normal styling.
- Large badges: The Top Left offset is sized for one default badge. Bigger designs should use Top Right.
- Blocksy versions: The fixes were measured on Blocksy 2.1.57. A future Blocksy release could change its layout, so recheck after major updates.
- Button look: The integration fits your button into Blocksy’s layout. It doesn’t copy Blocksy’s button design.
Our automated tests run on a real Blocksy install. They confirm the stylesheet loads on Blocksy and stays off on another theme. They also check that the inline button keeps its row.
Frequently Asked Questions
Do I need to turn on the Blocksy integration?
No. SaveTo Wishlist Lite 1.1.6 and later load the Blocksy stylesheet automatically whenever Blocksy is your active theme. There’s no setting, toggle or page for it.
Does it work with a Blocksy child theme?
Yes. The plugin checks the parent theme, so a child theme built on Blocksy gets the same stylesheet as Blocksy itself.
Do I need SaveTo Wishlist Pro for the Blocksy integration?
No. It ships in the free SaveTo Wishlist Lite plugin, version 1.1.6 and later. Pro stores get it automatically because Pro runs on top of the free plugin.
Ready To Set Up Your Blocksy Wishlist?
Blocksy gives your store a clean layout, and the wishlist button now fits into it without custom CSS. The only real decision left is where you want the button to sit.
- See what the integration changes on Blocksy cards and product pages.
- Pick your placements, starting with Top Right on the shop page.
- Use Top Right for big badges to keep every card consistent.
- Run the five checks after updating, and after big Blocksy updates.
Your Blocksy wishlist setup is one plugin update away. Install or update SaveTo Wishlist Lite to version 1.1.6 and the stylesheet does the rest.